Approaching a large collection of photographs can be overwhelming. Here are some tips on where and how to start inventorying and assessing what you have to work with.
☐ Prioritize photos
Many people have amassed large collections of photos and other material that may be difficult to deal with all at once. When approaching your collection, try to identify and separate out any items that may be “at-risk,” which includes:

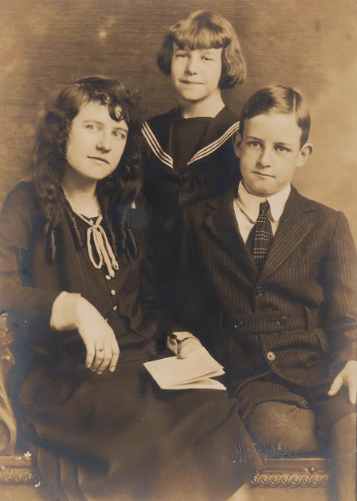
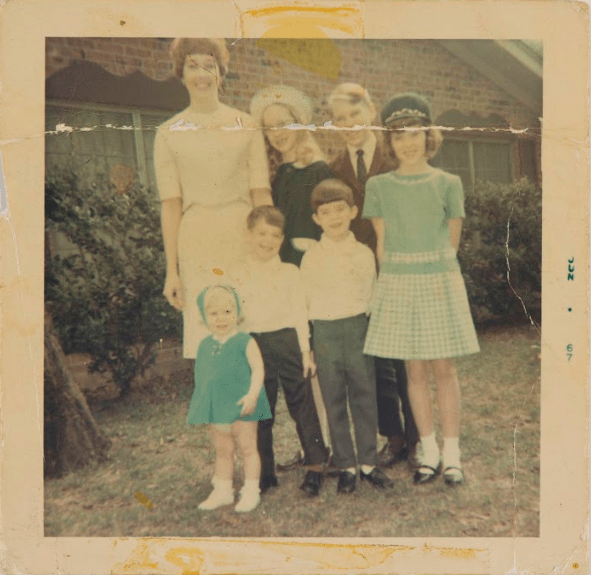
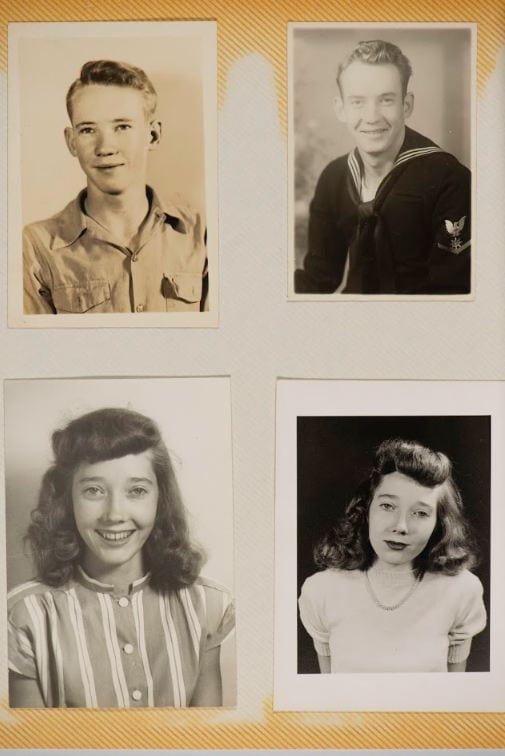
Oldest – Determine how old a photograph is by the people, clothes, and/or objects depicted, as well as the general appearance of the photograph, such as whether it is black and white or color, or shows signs of fading, discoloration, or “silvering,” which is the appearance of a silver or metallic sheen on part of the image. The oldest photographs in your collection should be among those prioritized for archival storage, management, and care.
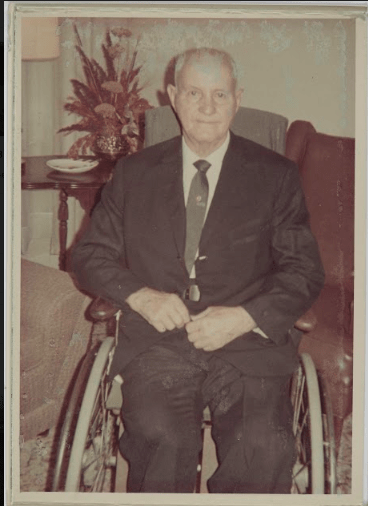
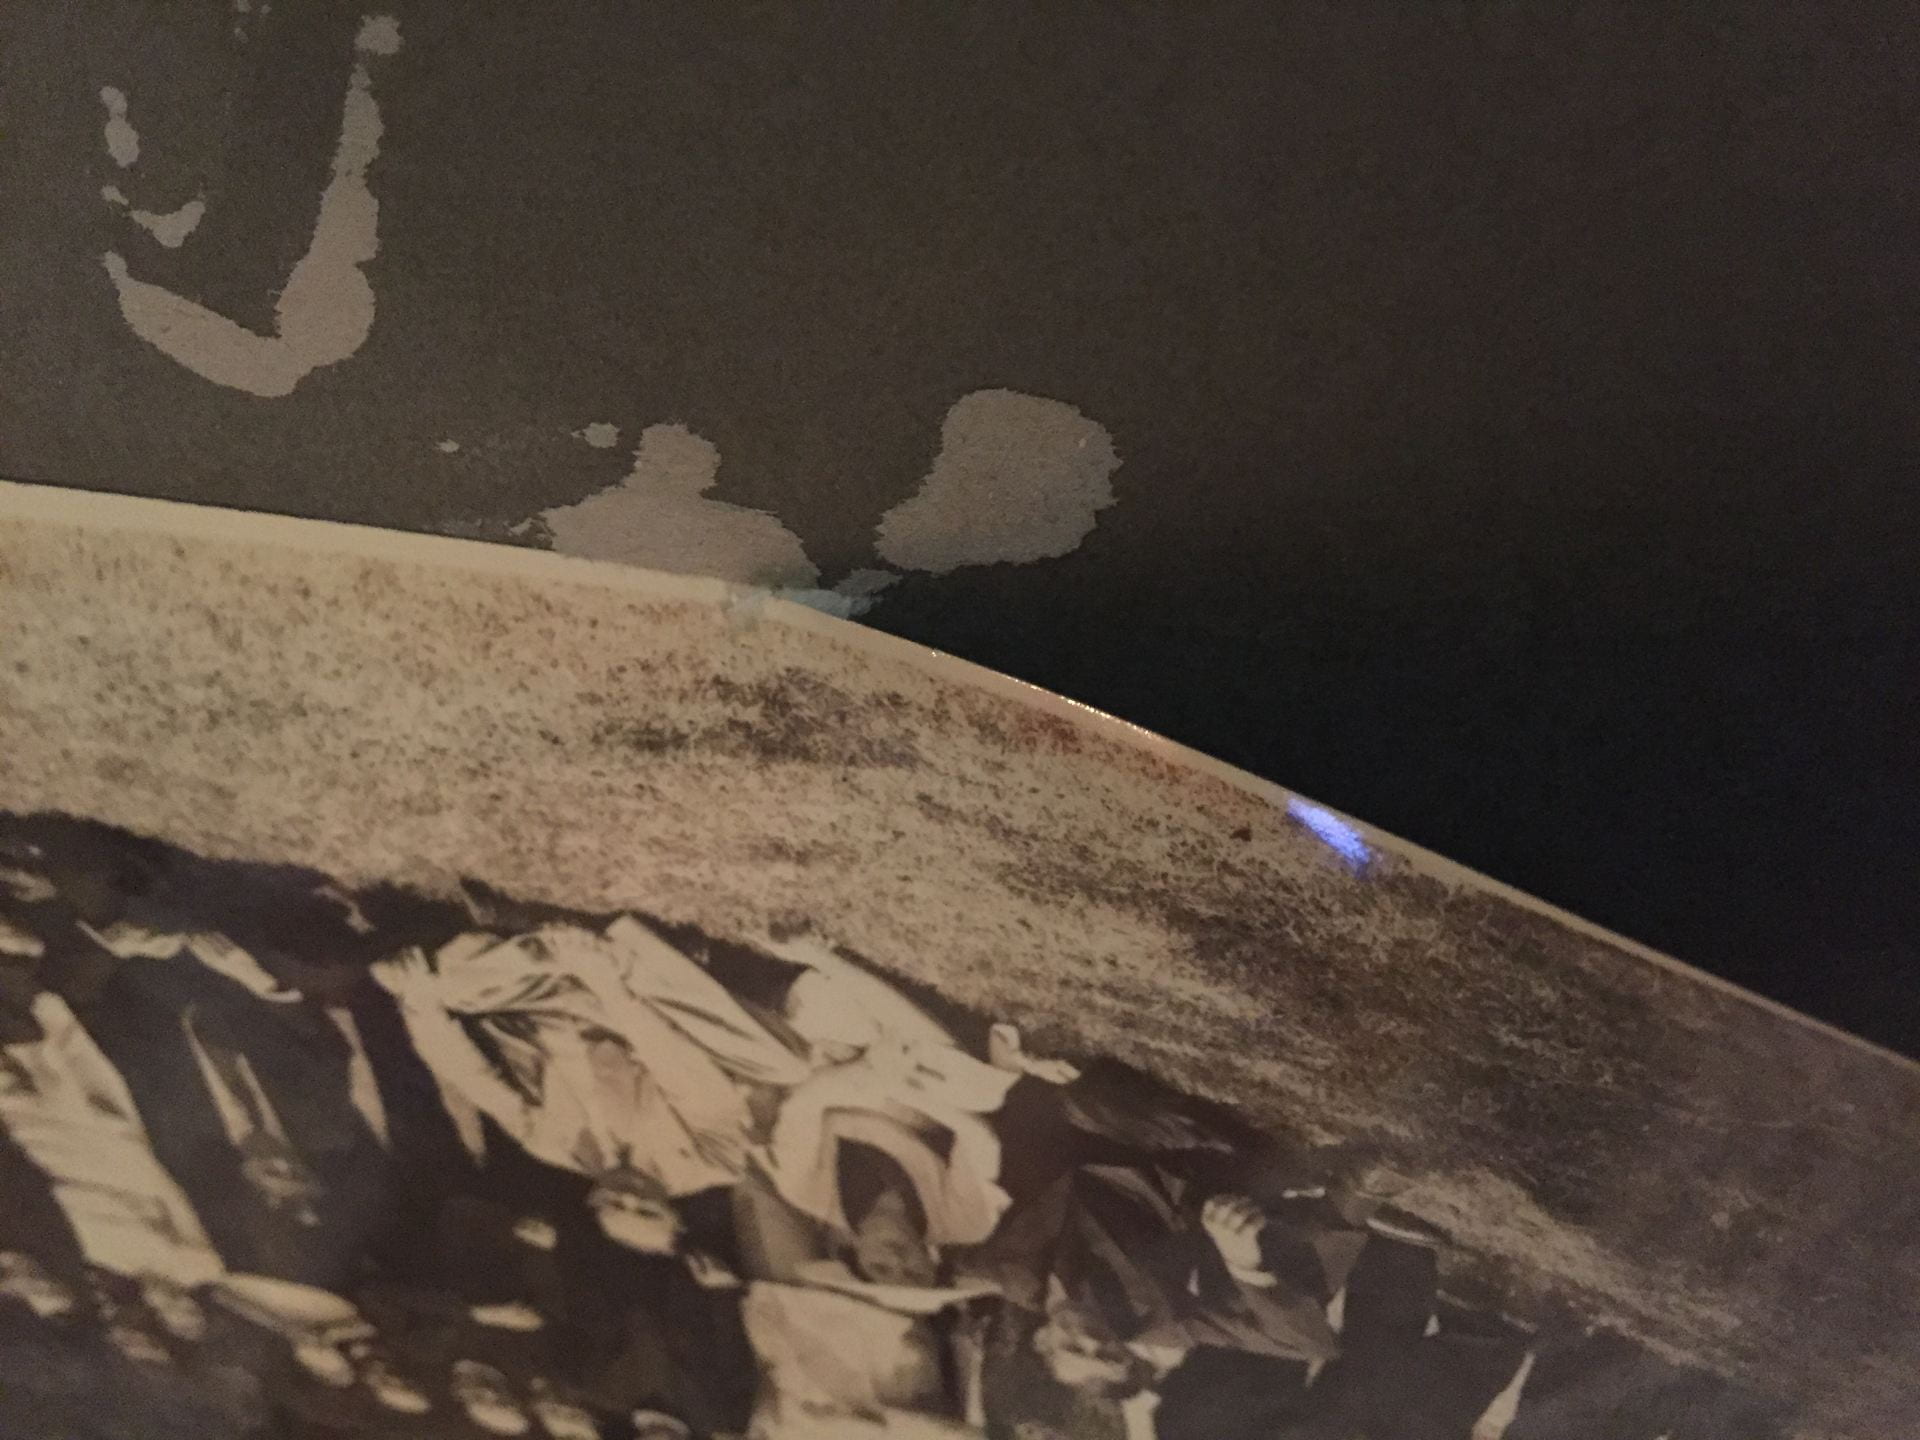
Discoloration, fading, or “silvering” (appearance of a silver or metallic sheen on parts of the image) – Images that have started to degrade can not be repaired. However, the degradation process can be slowed or halted by storing photographs in proper conditions (see “Photo Preservation Basics” section). To be safe, images showing discoloration should be stored in individual sleeves, separated from other photographs.
Ripped, torn, creased, or cracked – Use an archival board to support the photograph either in an archival sleeve, or a box if the image is flaking. Avoid handling the photograph, and do not use adhesive tape to repair torn photographs. Instead, consider scanning the pieces that you have to create a digital copy, and place the original in a plastic sleeve.
Stuck to glass – High humidity can cause photographs to stick to frame glass. It can be difficult and risky to attempt removing a photograph that is stuck to glass. If it is clear that the photo is stuck, do not attempt to remove it from the glass yourself; this could risk further damage to the photo. Instead, make a digital copy of the image (see “Digitizing Photographs” section) and store original in an archival paper sleeve or box, or consult a conservator.
Stuck to other materials – It can be difficult and risky to attempt removing a photograph that is stuck to paper, other photographs, or other materials. Make a digital copy of the image if you can (see “Digitizing Photographs” section) and have it printed out. Store the original in an archival paper sleeve or box, or consult a conservator.
Stored with or near adhesive – adhesive of any kind is damaging to photos and should be avoided as much as possible. Photos that have been taped or glued to other surfaces in the past should be stored individually or interleaved with archival paper to avoid photos getting stuck together. Photos stuck to self-adhesive photo albums (very popular in the 1970s-1980s) that rely on adhesive and plastic covering to display photos, can be removed by using dental floss to gently separate photos in some cases. If photos are too stuck and will not come free with dental floss, they should be left on the page to avoid risking damage. Make a digital copy of the photo album page (see “Digitizing Photographs” section) and store original in an archival paper sleeve or box, or consult a conservator.
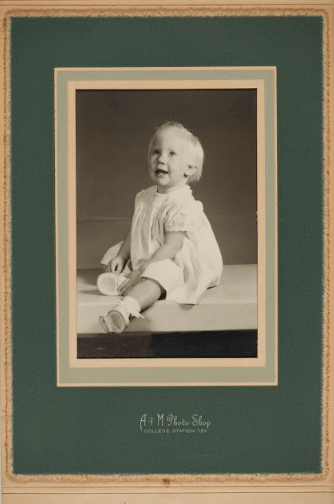
Stored with acidic paper – Photographs contained within cardboard portfolios or housed with construction paper or cardboard should ideally be removed from contact with these materials. If the paper is brittle and flaking, it’s not acid-free. A PH Testing Pen can be used to discreetly test the acidity of cardboard or paper to determine the urgency with which materials need to be re-housed. The more acidic the paper, the sooner photos will need to be re-housed, before the acid can cause damage to the photograph. Photos stored within cardboard portfolios as an artifact may not necessarily need to be moved if the cardboard is not very acidic.

Insect damage or mold – Prevent insect access to photographs by storing them in clean, secure conditions away from food and drink debris. If faced with an infestation, you can freeze items to kill the pests. Consult a conservator for severe insect issues, mold, or wetness.
When in doubt: Consult a professional – some at-risk situations may require help from a professional conservator.
☐ Determine sizes and extent of at-risk materials to inform storage decisions
Physically separate your collection into two general groups:
- First priority = at-risk. If necessary, at-risk items may be divided up into even smaller groups to be prioritized.
- Second priority = deal with later. Put the second priority items away and don’t look at them or think about them until you’re done dealing with the at-risk pile.
⭐⭐⭐⭐⭐⭐⭐⭐⭐⭐⭐⭐⭐⭐⭐⭐⭐⭐⭐⭐⭐⭐⭐Milestone 1⭐⭐⭐⭐⭐⭐⭐⭐⭐⭐⭐⭐⭐⭐⭐⭐⭐⭐⭐⭐⭐⭐⭐
Congrats! You have made it to the first milestone in archiving your family photographs – taking the first step of looking through your collection to identify at-risk or first priority photographs. You may have even discovered family treasures you didn’t know you had. Getting these treasures into safe archival storage will help to ensure your keepsakes last into the future. Are you ready to go one step further to protect your photos with proper storage?
⭐⭐⭐⭐⭐⭐⭐⭐⭐⭐⭐⭐⭐⭐⭐⭐⭐⭐⭐⭐⭐⭐⭐⭐⭐⭐⭐⭐⭐⭐⭐⭐⭐⭐⭐⭐⭐⭐⭐⭐⭐⭐⭐⭐⭐⭐⭐⭐⭐⭐⭐
Once you have identified your first priority items, create a rough inventory, either hand-written or using a text or spreadsheet computer program, to help determine your storage needs, looking at:
- Number of items
- Format of items
- Size of items
Based on the sizes and condition of your first priority pile, determine how you want to store your physical photographs. Do you want to use archival acid-free paper or stable plastic such as polyester, polypropylene or polyethylene? Considerations for each include:
- Paper – can write on the outside in pencil, protects photo from light
- Plastic – can write on the outside in permanent ink, can view photo without removing from sleeve, protects against fingerprints
Some recommended storage options include:
- Good: Store all photos together in an archival box
- + Better: Store small photographs together in archival envelopes and store large photographs individually in acid-free paper sleeves
- + Best: Use acid-free paper to interleave photos that are stored together, or use archival plastic sleeves to protect individual photos
☐ Get storage materials
Where to get storage materials (this is not an endorsement):
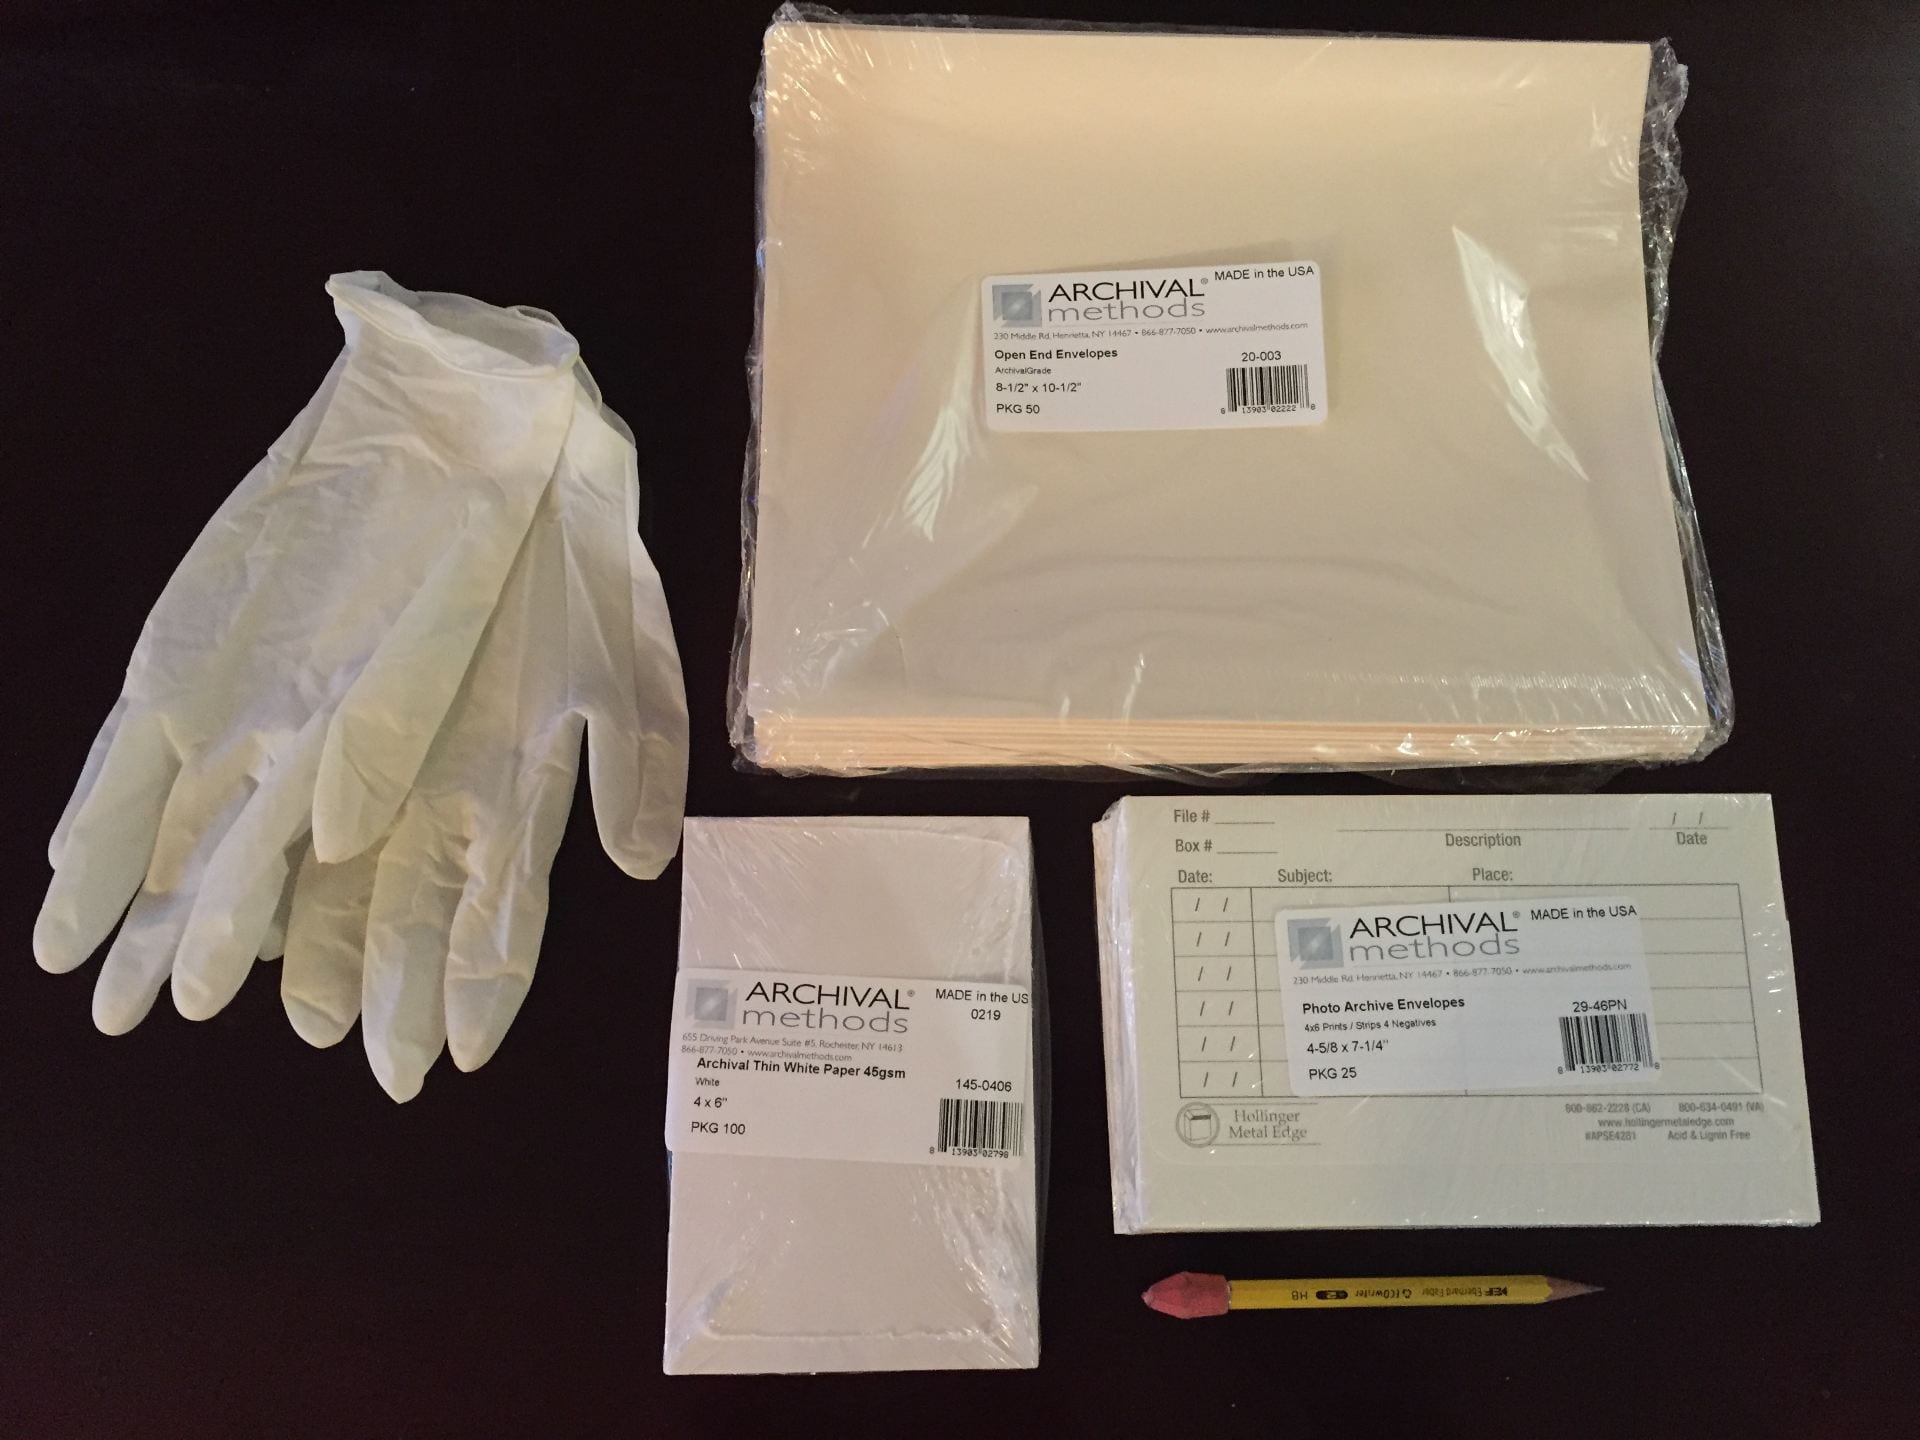 All supplies:
Archival boxes:
Additional Resources:
- How to begin a personal archiving project: https://blogs.loc.gov/thesignal/2016/05/how-to-begin-a-personal-archiving-project/
- Types of photograph degradation: https://archivesandspecialcollections.wordpress.com/2012/02/17/forms-of-photograph-degradation-sulfiding-and-insufficent-fixing/
- Dealing with pests: http://www.loc.gov/preservation/about/faqs/general.html#pests
- Dealing with mold and insects: https://www.archives.gov/preservation/family-archives/mold-insects.html
- Dealing with wet items: http://www.loc.gov/preservation/about/faqs/general.html#wet
- Repairing damage: https://www.archives.gov/preservation/family-archives/repairing.html
- Caring for your treasures: https://f9f7df2c79cc13143598-609f7062990e04dd7dd5b501c851683c.ssl.cf2.rackcdn.com/aichaw_c8362185071923e160aef031f10ba3e2.pdf