True preservation requires that materials are not only stored and handled properly, but also findable and accessible for future generations.
☐ Sort photographs into groups (if not already organized)
- If photos are already organized, try to maintain the original order and organization.
- If photos are not already organized, look for themes across your photos and photos that tell a story or illustrate folklore such as family traditions, rituals, or beliefs.
- If you have photos from multiple sources or branches of your family, try to keep those that are from the same source together. This concept is known as provenance, which helps to track where your photos came from (mom’s side vs. dad’s side, for example).
- Within each family branch or provenance group, separate your photos into sub-groups. Potential groupings include:
- Format – Black and White, Color, 4x6s, 8x10s, negatives, etc.
- Decade – 1920s, 1930s, 1940s, 1950s, etc.
- People – grandparents, aunts and uncles, family branches, etc.
- Events and/or Traditions – weddings, birthdays, holidays, religious rituals
- Special milestones – graduations, anniversaries, etc.
Examples of family folklore in photographs:
- Recurring occupations or other activities:
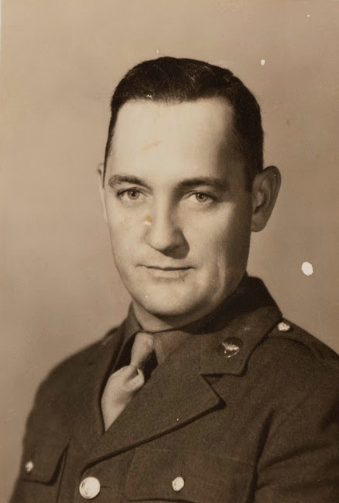
- Example: Multiple generations of military service:


-
- Example: Multiple instances of religious occupations:


- Traditions, rituals, and ceremonies, for example:
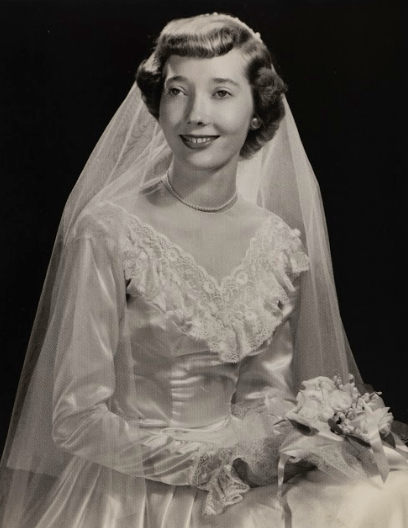
- Weddings:


-
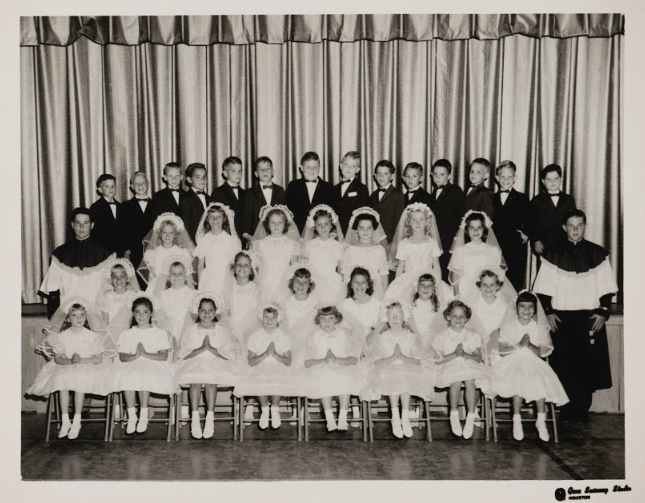
- Religious rituals and rites of passage (Example: First Communion):


-
- Holidays (Example: Christmas):


-
- Birthday celebrations:


Determine the groupings that make the most sense for your collection, and divide your items into stacks or clumps based on grouping theme. You can loosely group items together. It does not have to be perfect, and you do not have to order every single photo, especially if you are limited on time.
☐ Name and label your groupings
Give each grouping a name, such as 1, 2, 3 or A, B, C. If you are planning to digitize your photos, these group names will come in handy for file naming and organization. Create a list of groupings and their corresponding names:
Example groupings:
- Group 1 – oldest photographs, grandma’s side of the family
- Group 2 – 1950s, grandparents’ wedding
- Group 3 – 1950s, 1970s, Multi-generational military service
- Group 4 – 1950s, first three children
- Group 5 – 1950s-60s First Communion photographs
- Group 6 – 1960s, all six children
- Group 7 – oldest photographs, grandpa’s side of the family (religious occupations)
- Group 8 – pictures from family photo album
⭐⭐⭐⭐⭐⭐⭐⭐⭐⭐⭐⭐⭐⭐⭐⭐⭐⭐⭐⭐⭐⭐⭐Milestone 2⭐⭐⭐⭐⭐⭐⭐⭐⭐⭐⭐⭐⭐⭐⭐⭐⭐⭐⭐⭐⭐⭐⭐
Great job! You have reached the second milestone in your journey – creating a series of groupings from your first priority pile. By now you have a good idea of any recurring themes that run through your photographs, as well as traditions within your family. You may have learned something new about your family and heritage that you hadn’t realized before. Now it’s time to put your groupings into safe storage and document what is stored where, so you and others can find your collection items in the future.
⭐⭐⭐⭐⭐⭐⭐⭐⭐⭐⭐⭐⭐⭐⭐⭐⭐⭐⭐⭐⭐⭐⭐⭐⭐⭐⭐⭐⭐⭐⭐⭐⭐⭐⭐⭐⭐⭐⭐⭐⭐⭐⭐⭐⭐⭐⭐⭐⭐⭐⭐
☐ Create an inventory and put photos in safe storage
Create an inventory for each grouping using a spreadsheet or pen and paper as you move photos to their new archival storage envelopes, boxes, and sleeves (by now the supplies you have ordered should have arrived). If you are using paper enclosures, you can label physical items using pencil on the outside of an envelope or box. Make sure to wear gloves and keep a clean area as you handle photos.
For your inventory, the more detailed the better, but if you are pressed for time, a general description for each grouping is ok. Consider recording the following background information in your inventory:
- Good:
- Group name
- Names of people in the photos (as much as you can)
- Approximate date photos were taken
- + Better:
- Stories related to the photos (think about themes/groupings)
- + Best:
- Photo/file name
- Description of the photo:
- Physical dimensions and characteristics, such as whether the photo is color or black and white, and if anything is written or printed on the photo
- Subject/content of the image
- Additional notes
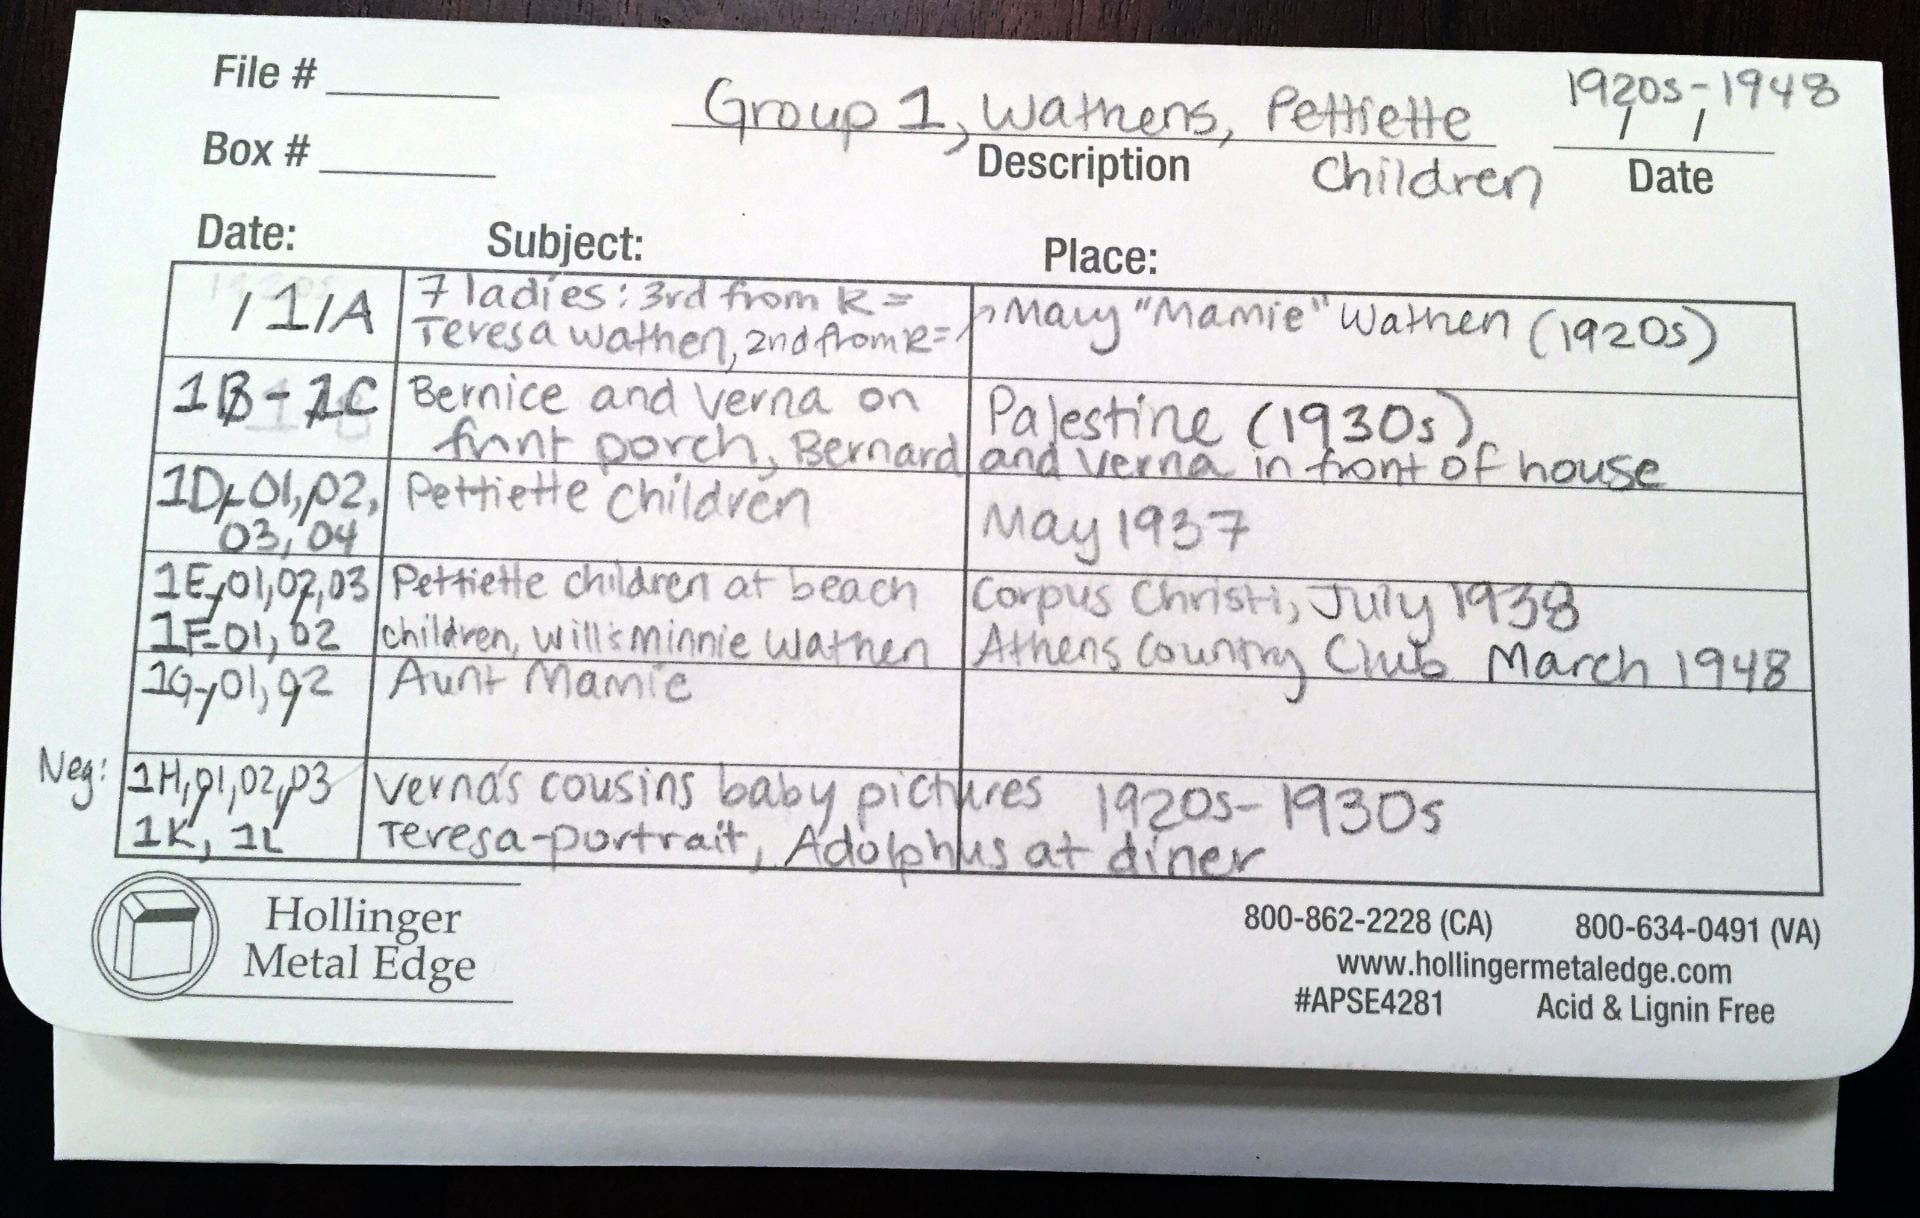
Example inventory 1:

Example inventory 2:
Example single photo inventory info:

File Name: 1G_01
Group Name: 1 – Wathens, Pettiette children, 1920s-1948
Approx. Date: 1920s-30s
People in Photo: Mary “Mamie” Wathen
Description: B&W, 3×5, portrait of Mary Wathen in a graduation cap and gown
Story: Mary Wathen went to college to become a school teacher and taught in Tennessee Colony, Texas
Notes: Slight silvering on bottom of photo
⭐⭐⭐⭐⭐⭐⭐⭐⭐⭐⭐⭐⭐⭐⭐⭐⭐⭐⭐⭐⭐⭐⭐Milestone 3⭐⭐⭐⭐⭐⭐⭐⭐⭐⭐⭐⭐⭐⭐⭐⭐⭐⭐⭐⭐⭐⭐⭐
The hard part is over! You have reached milestone three. All of your first priority photos are generally organized, labeled, and stored safely. Even if you haven’t filled out every detail in your inventory, you at least know the basics of what photos you have, where they’re stored, and that they are safe from the harm of acidic paper, light, and poor climate conditions. That’s a huge achievement! If you want to also create digital versions of your photos, move to the next section. Otherwise, skip to the “Collecting Stories” section to learn how to retain value and meaning in your photograph collection.
⭐⭐⭐⭐⭐⭐⭐⭐⭐⭐⭐⭐⭐⭐⭐⭐⭐⭐⭐⭐⭐⭐⭐⭐⭐⭐⭐⭐⭐⭐⭐⭐⭐⭐⭐⭐⭐⭐⭐⭐⭐⭐⭐⭐⭐⭐⭐⭐⭐⭐⭐
Additional Resources:
- How to begin a personal archiving project: https://blogs.loc.gov/thesignal/2016/05/how-to-begin-a-personal-archiving-project/
- Caring for your treasures: https://f9f7df2c79cc13143598-609f7062990e04dd7dd5b501c851683c.ssl.cf2.rackcdn.com/aichaw_c8362185071923e160aef031f10ba3e2.pdf