Pulling, racking, and throwing focus are major elements of narrative DSLR production. In the “industry” (or, industries), the 1st AC’s sole responsibility is making sure that critical focus is maintained. In smaller productions, you may be doing all the camera work: marking, measuring and pulling focus along with the duties of the DP and camera operator. Pulling focus is not only of major importance but is more complex than you would think.
There are tons of follow focus rigs out there, most of which mount onto 15mm rods, but the decent ones start in the $300 range. It’s important to note that you get what you pay for with these; however, there are some budget solutions. One tool that I love and that Cinema Studies offers in our DSLR kits is the Focus Shifter. For $50 this is a great little rig that mounts to your lens. It has a dry erase piece to make your marks or you can add clips for hard stops. But maybe $50 is too much (it was when I was in college, except for records of course).
Lots of people like to use grease pencils to mark lenses or will use gaffers tape to mark spots to pull to (make sure you use gaffers tape since it leaves no adhesive residue on the lens). This is fine, but the rubber band method is a MUCH better solution. I didn’t develop it, but it was something that I learned in college (back in the 90s…ahahaha) and here is a little explanation of how I do it (this assumes that you know how to focus a camera and achieve critical focus).
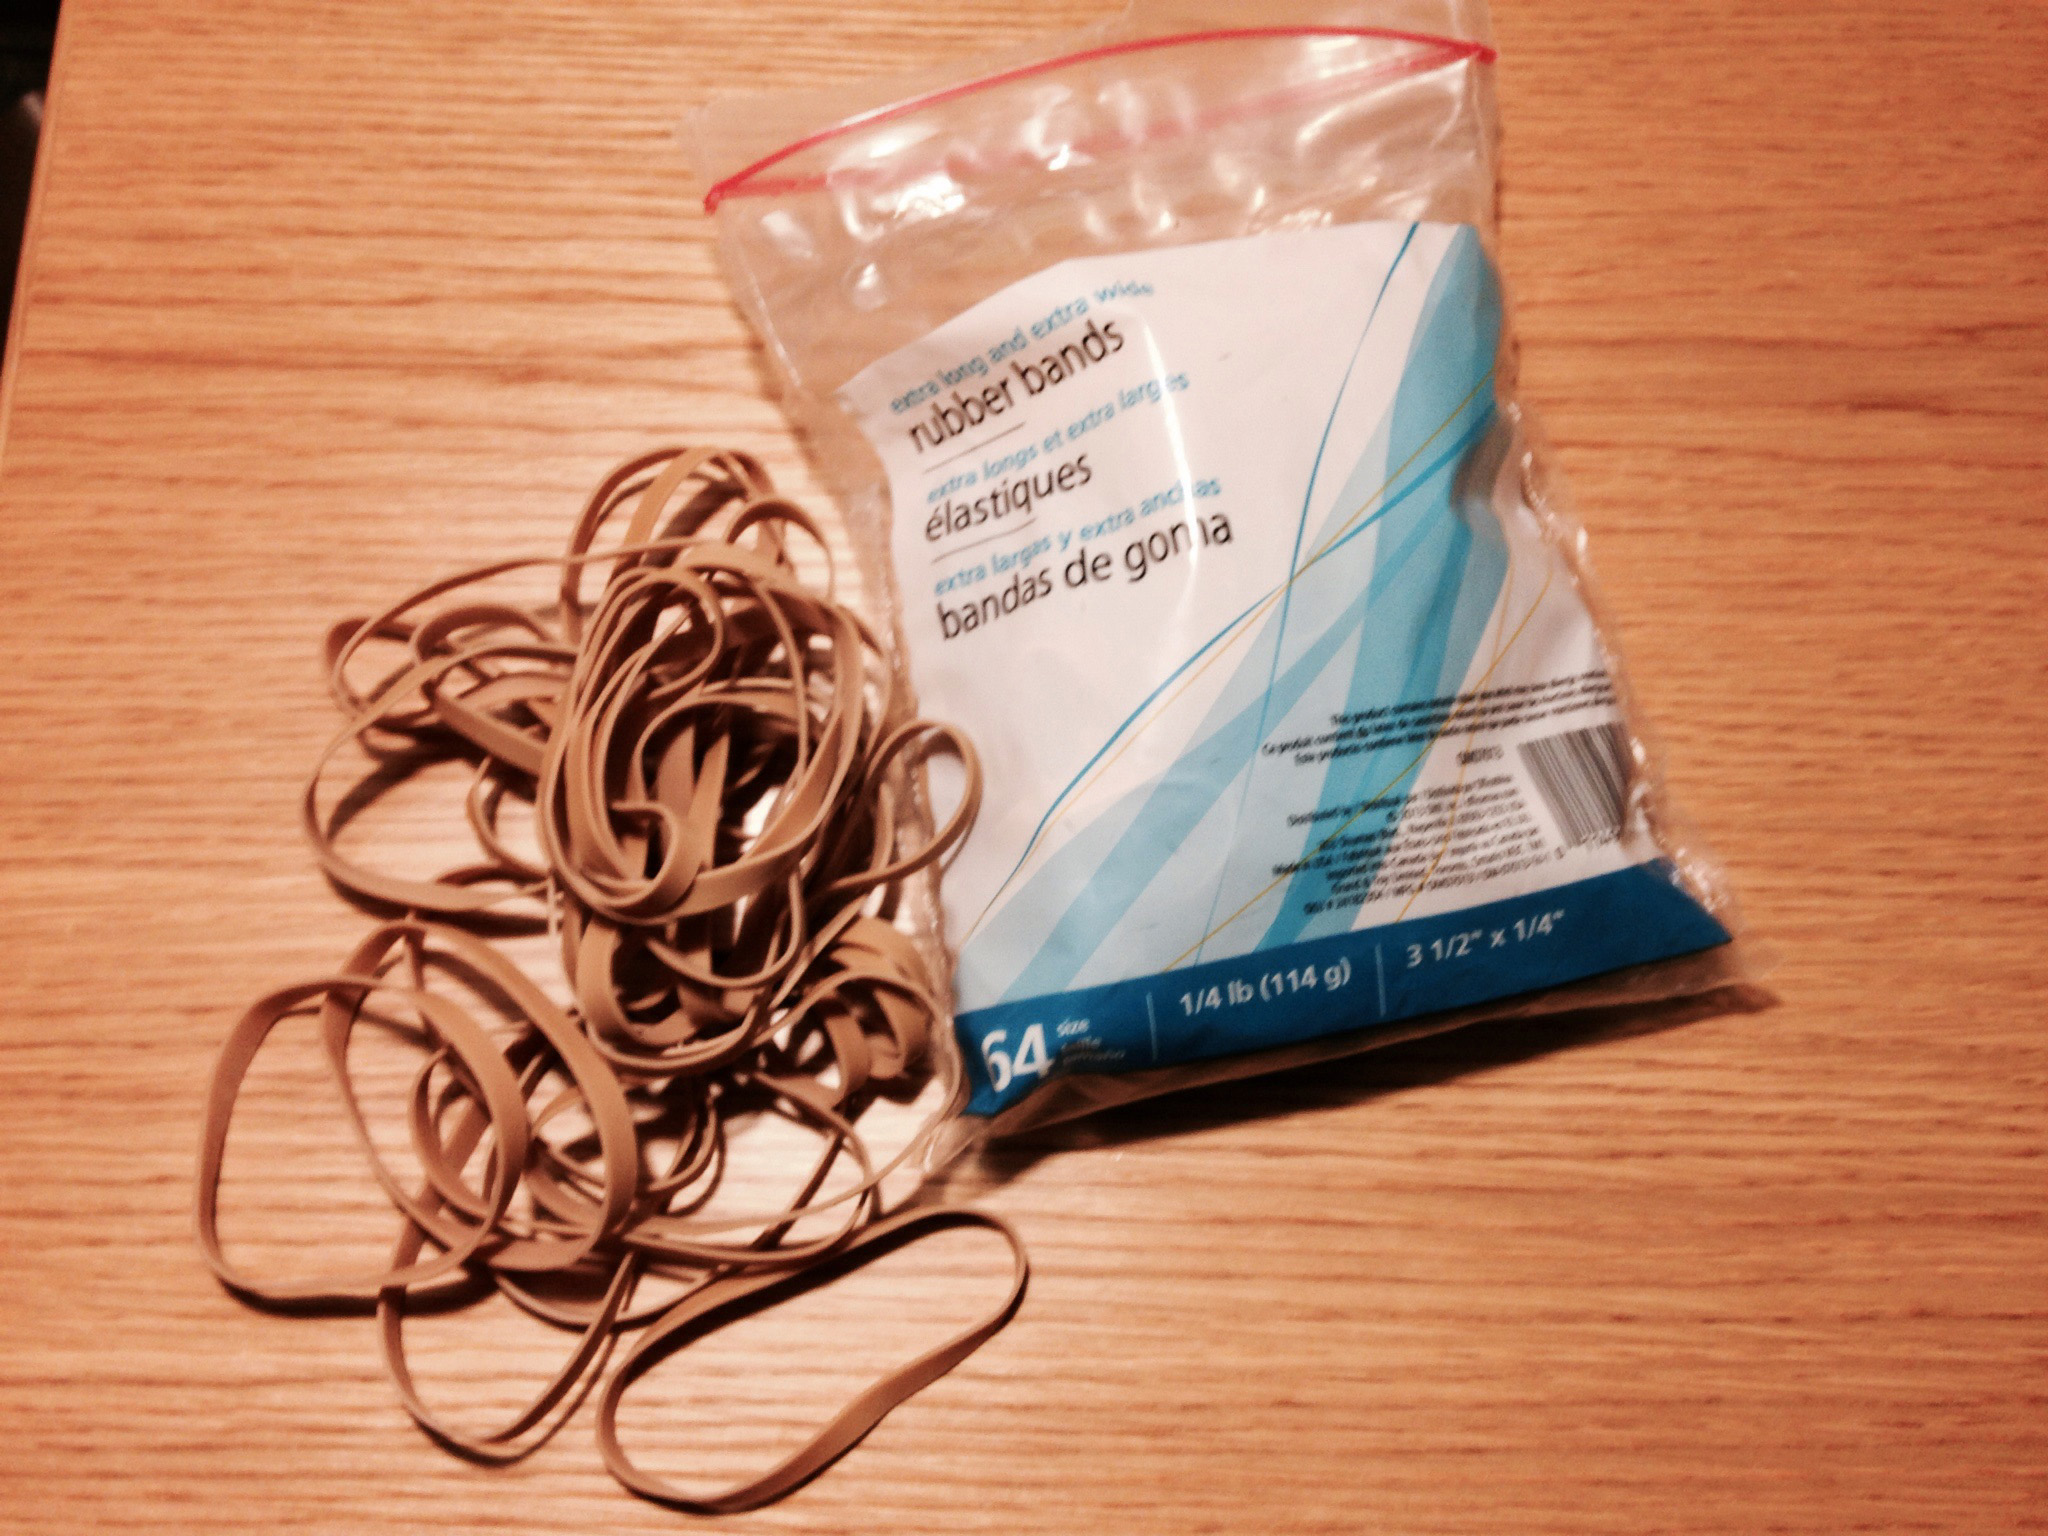
All you need for this is a $3 bag of 1/4″ thick (3.5″ in diameter) rubber bands. You want the thicker ones. That’s it.

First thing is to place a rubber band on the barrel of your lens. You want to make sure it’s on the stationary part of the barrel and not the focus ring. Then make a mark on this rubber band. You will place the mark on the left, right, or top of lens, which depends on where you are pulling from (although it’s ideal to pull from the left or the right of the camera, but you may need to be over the lens in some instances). After you’ve done this, place another rubber band on the focus ring part of the lens. This is where you’ll make all your marks for pulling. (Note that you may find it easier to make this mark once you’ve established your first point of critical focus. How much you will physically have to move the lens depends on the focal length of the lens, f-number, and distance between subjects.)

What we want to do here is rack from the foreground to the back ground. So, first get the subject in the foreground in focus.

Once you have the focus, make a mark on the rubber band on the focus ring. You now have your first mark. Unless you move the camera along the focal plane, when on this mark the subject in the foreground will always be in focus.

Now adjust the focus until you have the subject in the background in focus.

Once the background is in focus, add another mark. You should try to make your marks different: different color, number them, make an arrow or different shape, etc.

Now you should be able to rack the focus between the marks and have perfect focus each time you land on the mark without having to look at the LCD screen. You can use this same technique for pulling or throwing focus as well. When working with acting talent, make sure that your marks on the lens correspond with the marks the talent hits. Sometimes 1st ACs won’t actually use tape to mark for talent, but maybe another visual cue on the focal plane (a sidewalk crack, piece of furniture, etc) and then mark the lens using those cues instead. I think it’s best, until you have solid grasp of pulling for talent, to use gaffers tape to make floor marks.

This post was written by Andre´ Sirois for the University of Oregon Cinema Studies Program and is published under Creative Commons license (CC BY NC SA 3.0)