


4.2 Research


Sketching Practice
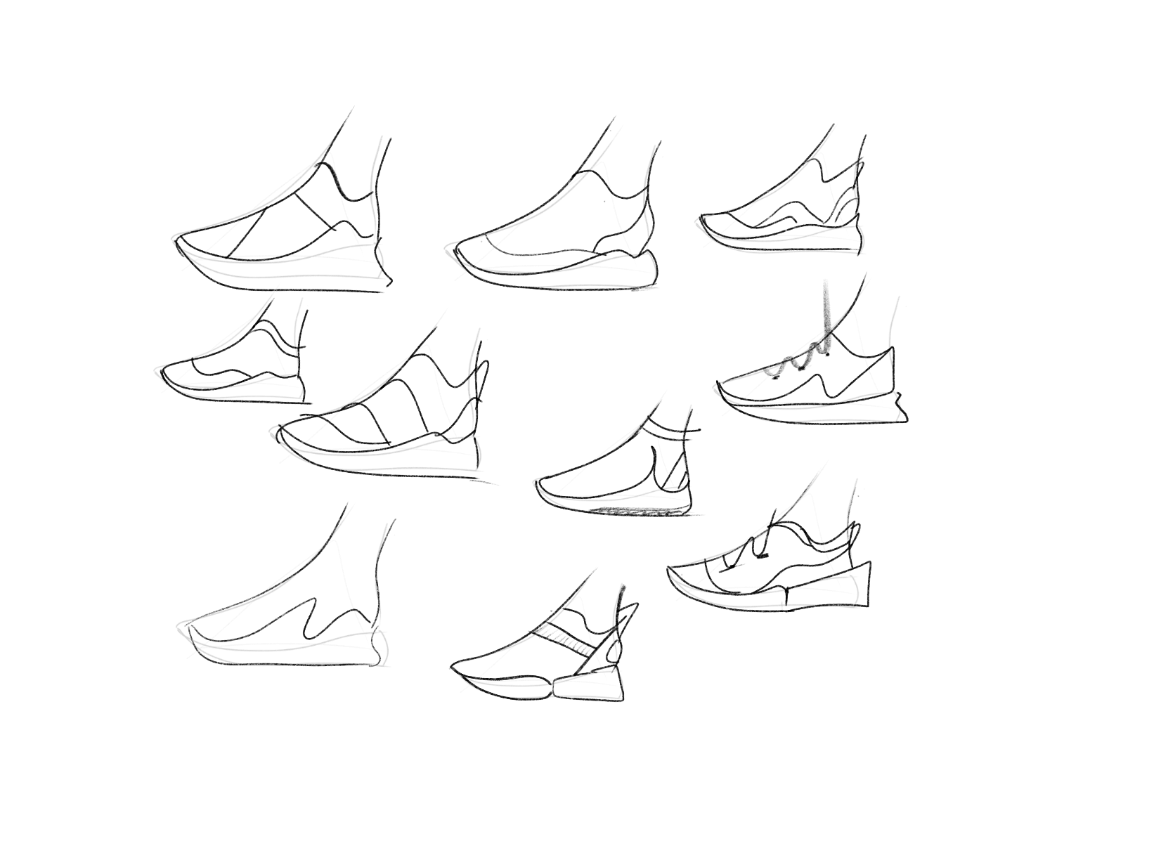
SKETCH PRACTICE
In the weeks that I was focused on making and research the basics of the proportions of footwear sketching got away from me. This weekend I wanted to focus on practicing consistency and proportion.

4.1 Preliminary Research and Project Brief

DESIGN RESEARCH
SOLE FURY TRAIL BY MARC BROSSEAU
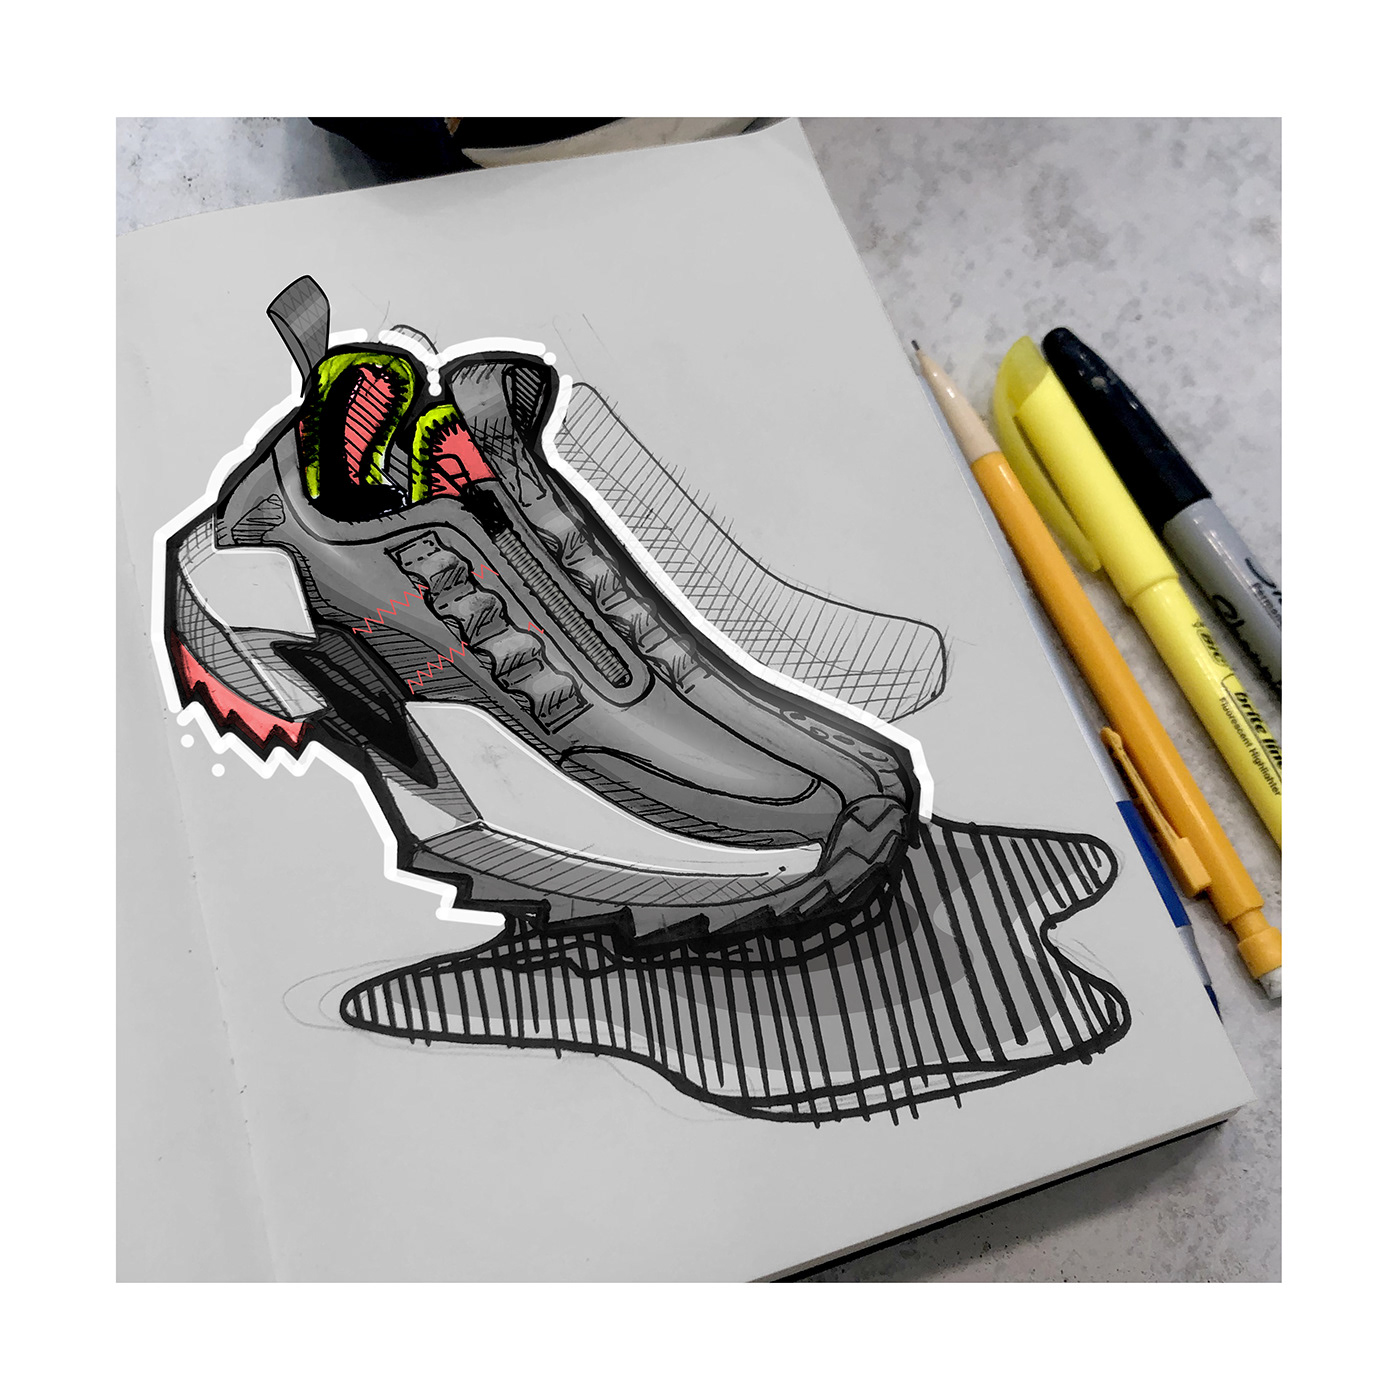
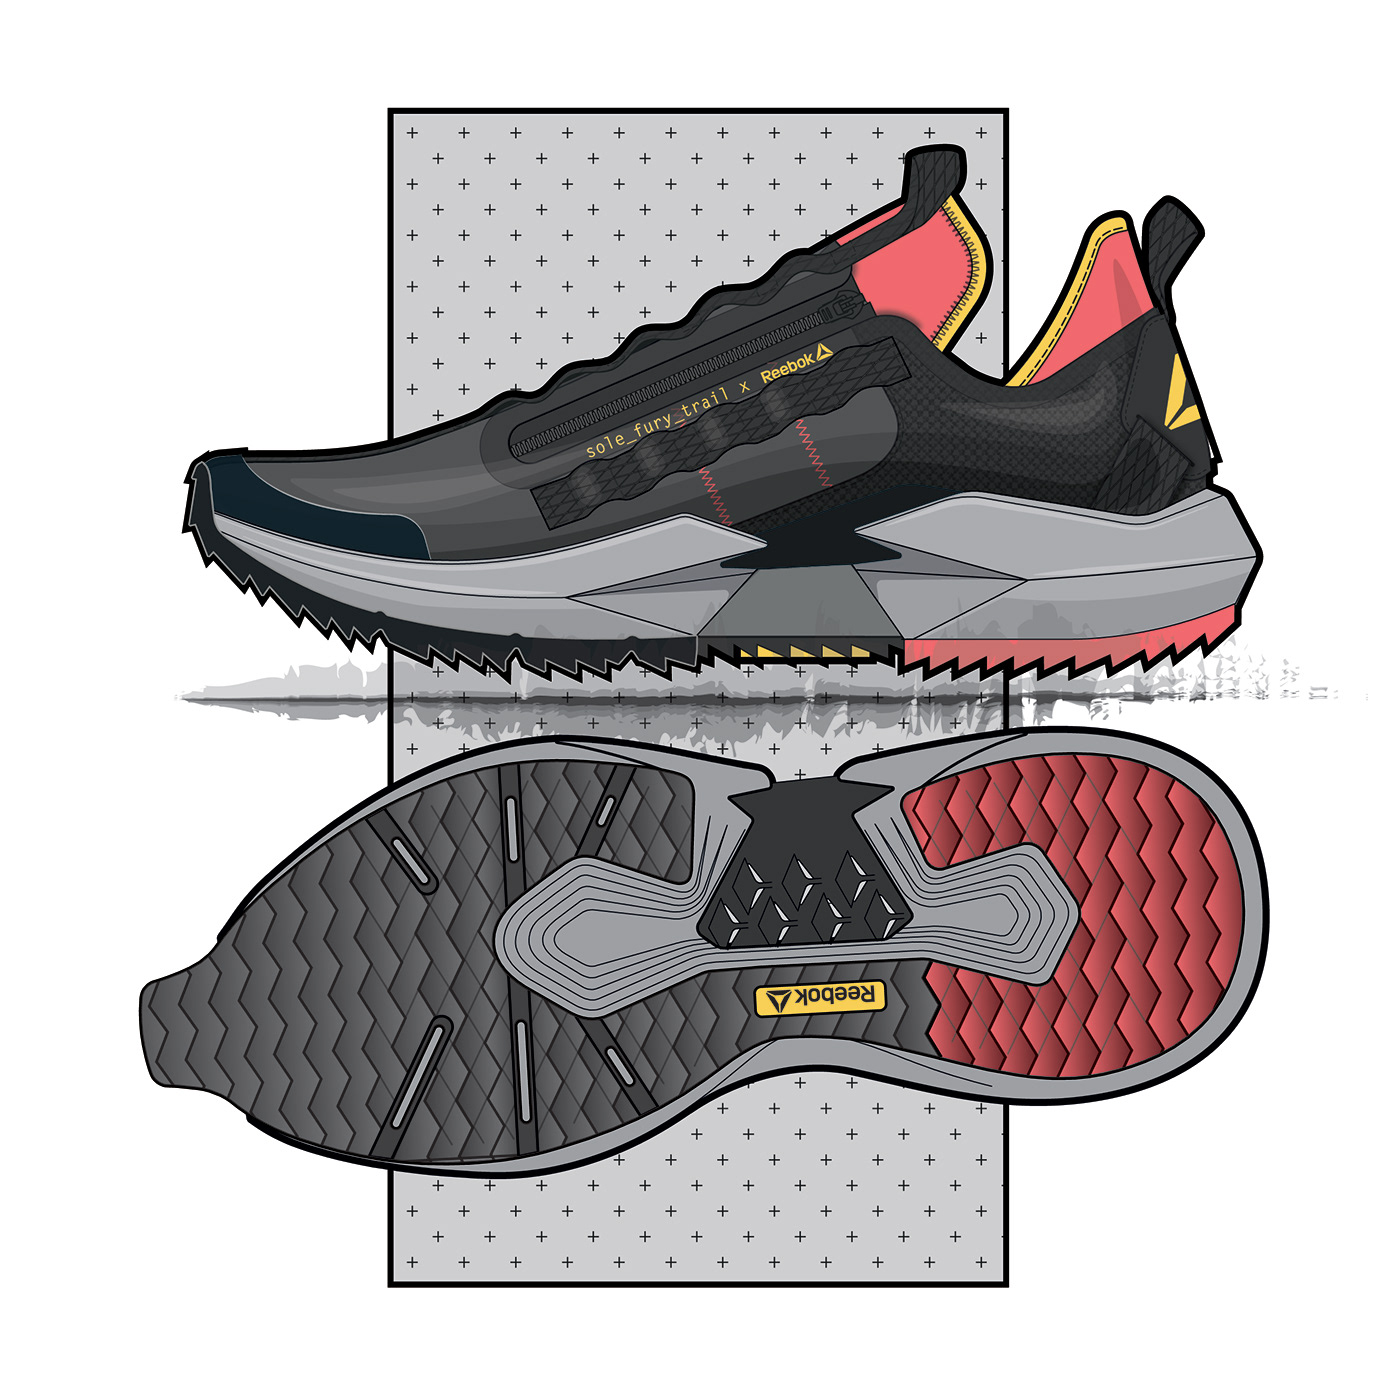
I found that this project did not show a lot of development, but had really great looking tooling drawings and a rendered sketch. The sketch was a combination have hand drawn then taken into photoshop. I think by the end most of the lines are in photoshop that are actually on the shoe including highlighting. The tooling drawing I felt had a good use of patterns dropped in to show texture as as well as the shading is very regular looking so I am not sure if they were illustrator shapes that were filled or if he had a very steady hand with a solid brush in photoshop.
N I K E A C G C O N C E P T BY ALEXIS FILLOUX


While simple and not very complex and colorful in comparison to other projects I saw, I felt that this one was very focused on form because of that. I thought that these sketches were great inspiration for me because they aren’t anything crazy but the composition of them together and combining the focus of each area of the shoe on one page makes it interesting to look at. In this designers process they 3D printed their sole, which we wont be printing the whole sole but made me think that printing the raised surfaces to attach to a sole could be a good idea. I really liked this sketching on top of the rendered midsole view and could be a great mid process type of render.
KASEY LACOURSE


Similar to the first project, this is a drawing that is rendered in photoshop. Unlike the first project however, I do not think this artist used adobe illustrator at all for the base tooling and instead relied likely on digital drawing. The use of loose lines contrasted with a photoshopped texture however I think is what makes it look polished and stand out. The texture is applied with low opacity so it blends with the hand drawn style of the shoe which I feel I was missing with my renders. The first image is a hand drawn movement diagram studding the sport likely tracing an image of the athlete then coloring with an opaque brush on a drawing tablet. This is something I think is very doable!
Assignment 3.5 Presentation


Assignment 3.1 Research

For this traction project I decided to work on traction for a surf bootie. Important context for this product is that it in the world of surf it is only acceptable to wear booties if the water is between 54F and 59F roughly. At these temperatures surfers are wearing wetsuits to accompany their booties. If the water is much warmer it is surf culture to go barefoot, giving a more natural ride and superior control. This attitude within the surf community was key to understanding the importance of a natural ride.
To start off I looked at exiting products in the realms of surf, water shoes and traction in wet conditions.


Moving forward it is clear that traction is critical, it’t interaction with a waxed surface must be taken into consideration and that tiling patterns from wet road tires could be useful.
Below is a two page condensed report of the steering and body weight mechanics in the sport with where I feel existing traction could improve.


Assignment 2.4 Design + Presentation


Assignment 2.8: Retro Re-invent


2.2 Upper System Prototype
WORK ALIKE PROTOTYPE
Moving forward with my minimal running shoe upper concept, I decided to flesh out ideas on a 3d form so I could get considerations for the foot anatomy in my concept.
I started with taping a simple running shoe.

After adding a second layer I used a prisma color pencil to draw on design lines. It took a few tries to flesh out my concept visually to where I was happy with it.


The first way that I drew the lines were using a lot of thin straps. After drawing it on the form it felt busier than I wanted it to look and started to think about how I could refine it.


Moving forward I decided to go with these larger rounded hollow structures wrapping around the foot that leave the mid-foot open. This was to have room for some more rigid stability strings the help make sure the shoe is staying on the foot.
When drawing the design on the form it was helpful to see it n 3d for me to take some considerations for placement. The center piece that connect the two mid-foot straps was to be placed over the upper navicular bone, which in 2D would be very hard to get correct. Secondly, the heel structures are to hug the sides of the heel bone to stay on, rather than pinching the achilles. This is why the heel counters are open and do not touch in the back.


After cutting out my design linesI traced the patterns to cut out of foam
When creating I used white foam to represent areas that would have more flexibility and stretch vs the black which I imagined to be molded to the shape of the foot it is in contact with.

Using a small hole punch I wanted to display the context of perforation through the toe box.


After getting the heel stability secured on I added the more rigid support strings through the mid foot and from the heel to mid foot strap with hot glue.
FINISHED PRODUCT

Moving forward I would need to figure out whether the placement of strapping and heed design will securely keep the foot in the shoe during running. The molded soft part on the navicular bone where the straps meet looks out of place and buckle like in this craft foam. However, for the real design I am imagining a much slimmer, perhaps natural fiber material that is molded with c curve to fit naturally and with a low profile.
Assignment 2.7: Last Taping and Basic Shell Pattern Development


