Tag: Quest

Changing Controller Batteries

Picture of a motion controller.

Changing Controller Batteries

The Oculus Quest and Rift S both use the same kind of controllers. These are powered by AA batteries that need to be changed out fairly frequently. If the controllers of the headset aren’t turning on or connecting try putting in new batteries. Here’s how!

Picture of a motion controller with an arrow depicting the handle sliding down.

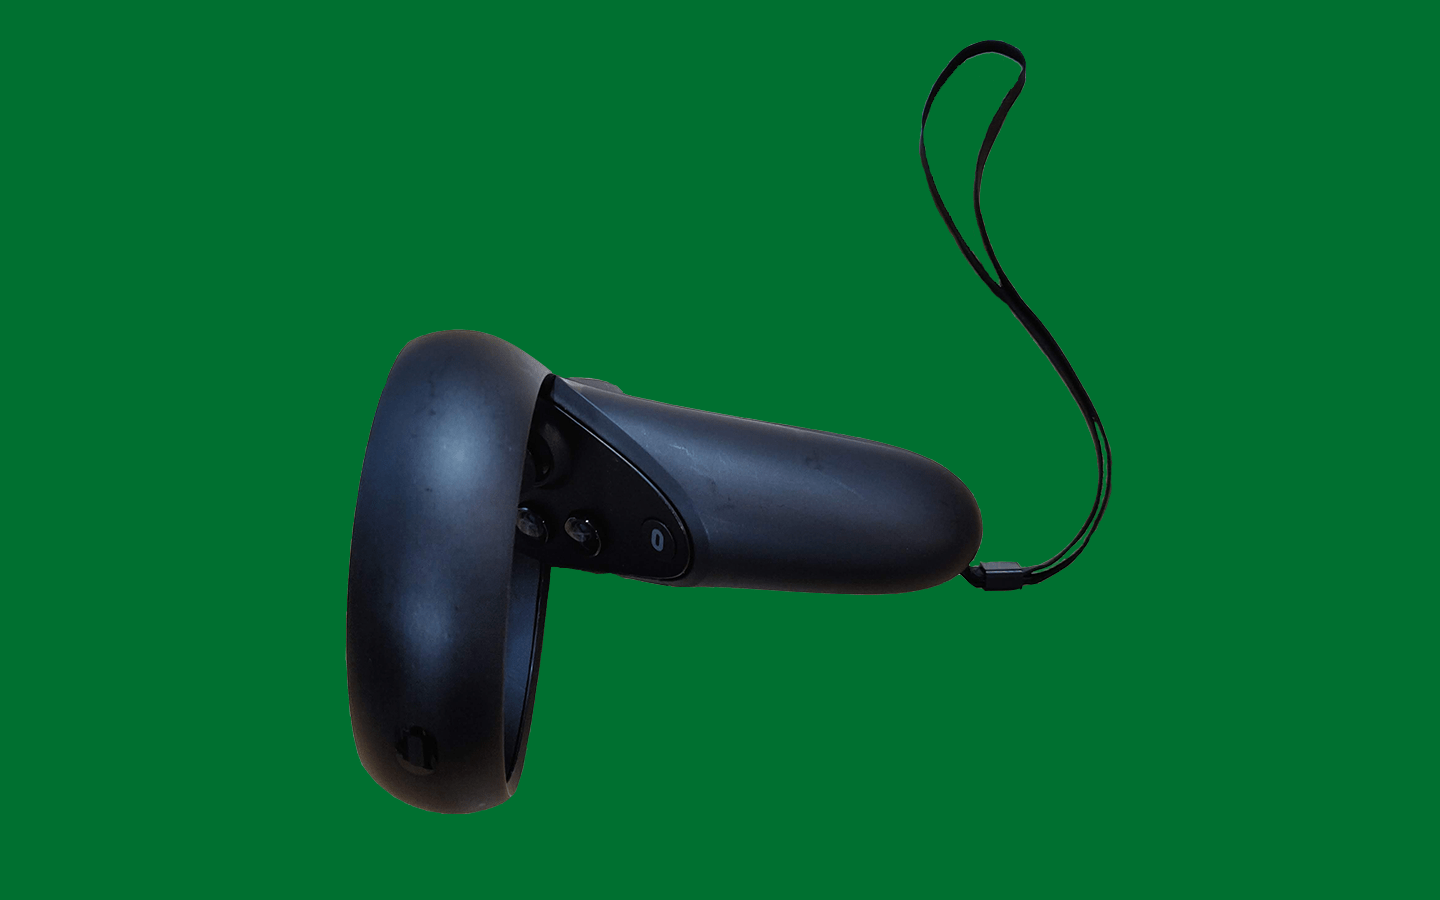
The handle of each controller can be gently slid open to reveal the battery. Use the pictures as reference.

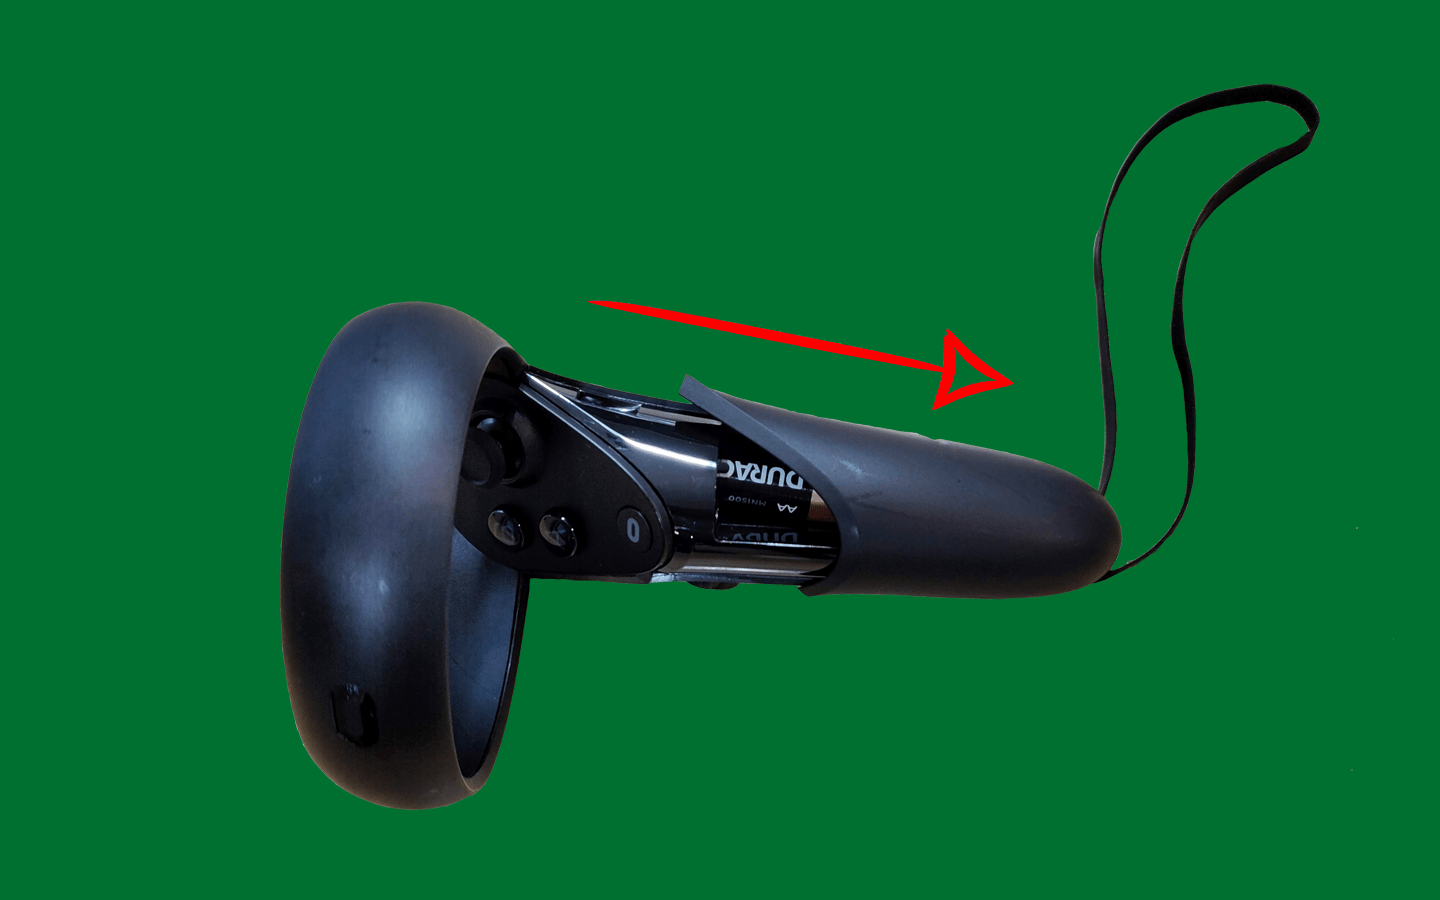
Place your thumbs on the side of the handle and push away from the circular end of the controller. The shell is held on by magnets so you shouldn’t have to push hard before you feel it start to move.

Picture of a motion controller with the handle panel slide off to reveal the battery.

Once the handle is open, remove the old battery and insert a new one. Slide the handle case back onto the controller until it snaps shut.

With the new battery inserted the controller should be ready to work! Press the Oculus button (right hand controller) or the Menu button (left hand controller) to activate them. If it’s working properly and detected by the computer there will be a small white light that appears by the thumbstick.

If you have further problems with using the controllers please contact sojciml01@uoregon.edu.

Streaming from the Quest and Go

Streaming from the Oculus Quest and Go

Wanna share the fun with everyone else in the room? We’ve got you covered!

Choose from one of the methods below and make sure to request any peripherals you need when you check out the Oculus Quest or Oculus Go.

1. While wearing the Quest, look down at the menu, select the ‘Sharing’ tab.

2. Next select the ‘Cast’ option.

3. A list of devices the Quest can connect to will appear, these will most commonly be Chromecast enabled devices or mobile devices. Select which device you want to stream to and the stream should appear on the screen. A red recording dot will appear in the upper right corner of the Quest’s screen.

4. To stop casting, select the ‘Cast’ option again.

For this method you will need an AirPlay enabled device, most current Apple products and smart TV’s will be AirPlay compatible. This is another good method for streaming in the Immersive Media Lab or other classrooms in Allen Hall.

1. Using a phone or tablet with the Oculus app installed, open the app. In the upper right hand corner there will be an icon of a headset and wifi (see above picture), select this.

2. A screen with a list of the headsets your account is connected to will appear, in the ‘Cast From’ section it will say beneath each option if the headset is nearby and turned on. Select the headset you want to connect to (the connecting process can take several minutes).

3. In the ‘Cast To’ section you will see any nearby devices available to connect to, this should include the phone/tablet you are accessing the app from and any Chromecast enabled devices.

Select the device you want to cast to and then select ‘Start’ at the bottom of the screen. The stream will appear momentarily on the selected device.

4. The person wearing the headset may see a notification appear in the headset requesting casting access, accept this request. The stream will now appear on the Apple phone/tablet.

5. On the Apple phone/tablet, pull down from the top right of the screen and select ‘AirPlay Screen Mirroring’ from the menu. Choose the device you want to stream to and input the code that appears on the screen of the selected device. Your stream should now appear on that device.


For this method you will need a Chromecast or Chromecast enabled device. This is a good method for streaming in the Immersive Media Lab or to an Android phone/tablet.

1. Using a phone or tablet with the Oculus app installed, open the app. In the upper right hand corner there will be an icon of a headset and wifi, select this.

2. A screen with a list of the headsets your account is connected to will appear, in the ‘Cast From’ section it will say beneath each option if the headset is nearby and turned on. Select the headset you want to connect to (the connecting process can take several minutes).

3. In the ‘Cast To’ section you will see any nearby devices available to connect to, this should include the phone/tablet you are accessing the app from and any Chromecast enabled devices.

Select the device you want to cast to and then select ‘Start’ at the bottom of the screen. In the headset a request for streaming access will appear, accept this. The stream will appear momentarily on the selected device.

This method will stream to your PC and is the same method as streaming to a Chromecast but with a few extra steps. This method works best with a newer Android phone or tablet.

1. Using a phone or tablet with the Oculus app installed, open the app. In the upper right hand corner there will be an icon of a headset and wifi, select this. 

2. A screen with a list of the headsets your account is connected to will appear, in the ‘Cast From’ section it will say beneath each option if the headset is nearby and turned on. Select the headset you want to connect to (the connecting process can take several minutes).

3. In the ‘Cast To’ section you will see any nearby devices available to connect to, this should include the phone/tablet you are accessing the app from. Select the phone/tablet and then select ‘Start’ at the bottom of the screen. In the headset a request for streaming access will appear, accept this. The stream will appear momentarily on the selected device.

4. On the phone, navigate through the phone’s pull down menu to find ‘Screencast’, select this and it will begin searching for nearby devices.

5. On PC open the program ‘Connect’. Now on the phone you will see an option to connect to the computer. Select the computer and your stream will now show up on the computer’s screen.

Accessing Files on the Quest

For this method you will need the USB C to USB 3 cable that comes with the SOJC Oculus Quest Kit.

  1. Have your computer and the Quest in front of you and turned on.
  2. Insert the USB 3 end of the cable into the correct port on your computer.
  3. Insert the USB C end of the cable into the charging port on the left side of the Quest headset.
  4. Put on the headset, you should see a prompt asking if you want to allow the Quest’s data to be accessed, select ‘Allow’.
  5. On the computer a window should open showing you the data on the Quest. Here’s the file path to find your screenshots and videos: Quest > Internal Shared Storage > Oculus > Screenshots or VideoShots.
  6. When finished transferring your files remember to safely disconnect the Quest before unplugging it.

This method can post screenshots or videos directly to Facebook from the sharing option in the Oculus Quest.

Please be aware if you use this method that it may cause your Facebook account to lock and that it is a public device.

You may need an administrators help to disconnect your account from the Quest.

How to set up the Oculus Quest

Step 1: Don't Panic

Yes it’s expensive so please don’t drop it but VR is easier to get into than you’re expecting! Everything you need is in the Oculus Quest kit available at the J-Cage in Allen Hall.

Please keep the Quest out of direct sunlight and only use the cleaning supplies that come with the kit.

Take frequent breaks while using the Quest, VR can be disorienting for newcomers and cause eyestrain.

Step 2: Power On

Power on the headset by pressing and holding the button on the right side of the headset (D, above), you will hear a tune and it will light up.

Step 3: Suit Up

Then take each of the controllers and slip the strap (B and C above) around your wrist and tighten so they don’t slip off. Power on the controllers by pressing the Oculus Button and the menu button.

Now put on the headset.

Step 4: Fit

The headset should rest comfortably over your eyes and on the bridge of your nose and cheekbones without too much weight. 

To adjust the fit make sure the straps sit at the back of your head then tighten or loosen the velcro to each side and on top (E above). 

Step 5: Play Area

When you put the headset on you should see a loading screen with the Oculus logo. Then you’ll be guided through setting up the Guardian Boundary, this will help keep you safe while you play.

Use your controller to show the Quest the floor level, then holding the trigger draw your play area. Make sure this area is clear of any objects you might run into.

Step 6: Game On

Once set up is completed you will see a home view similar to the one shown above. From here you can choose your game or experience. Pressing the Oculus Button on the controller will always bring you back to this view.

If you’re new to VR I recommend trying out ‘First Steps’ to learn more about what you can do!

Advanced Users

The Oculus Quest Kit comes with an Oculus Link Cable, a long cable with a USB C on each end. This can be used to connect to the Quest to your PC, enabling you to play VR games with Steam or another platform.

Start by plugging one end of the cable into the Quest’s charging port, the other end will be plugged into your PC or desktop tower if it has a USB C connection port.

Once connected, put on the Quest, you will see a prompt asking for permission to connect the headset to the computer, accept this prompt.