Changing Controller Batteries

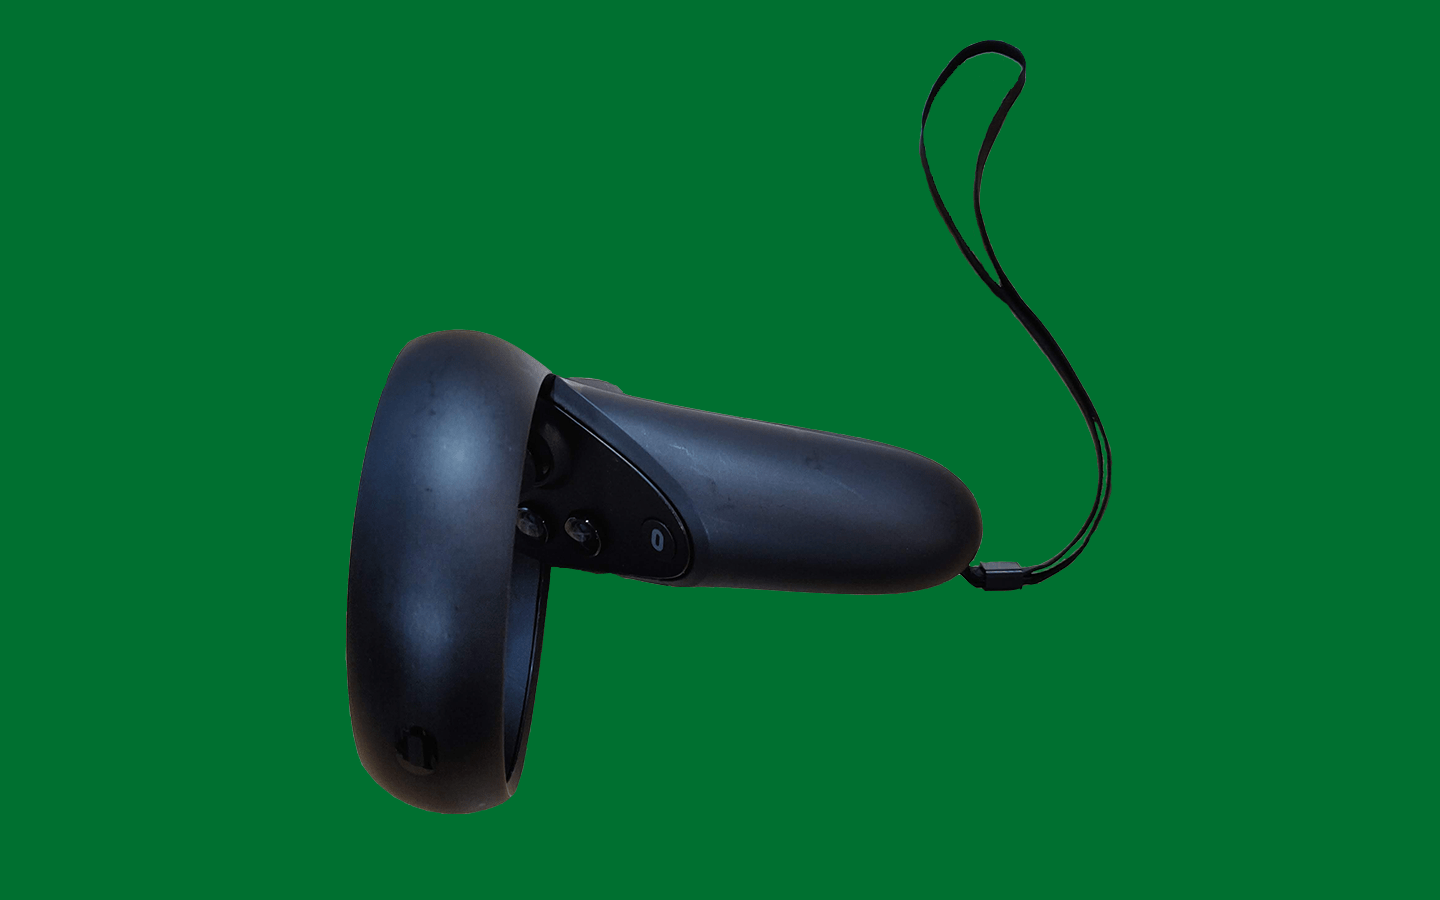
Picture of a motion controller.

Changing Controller Batteries

The Oculus Quest and Rift S both use the same kind of controllers. These are powered by AA batteries that need to be changed out fairly frequently. If the controllers of the headset aren’t turning on or connecting try putting in new batteries. Here’s how!
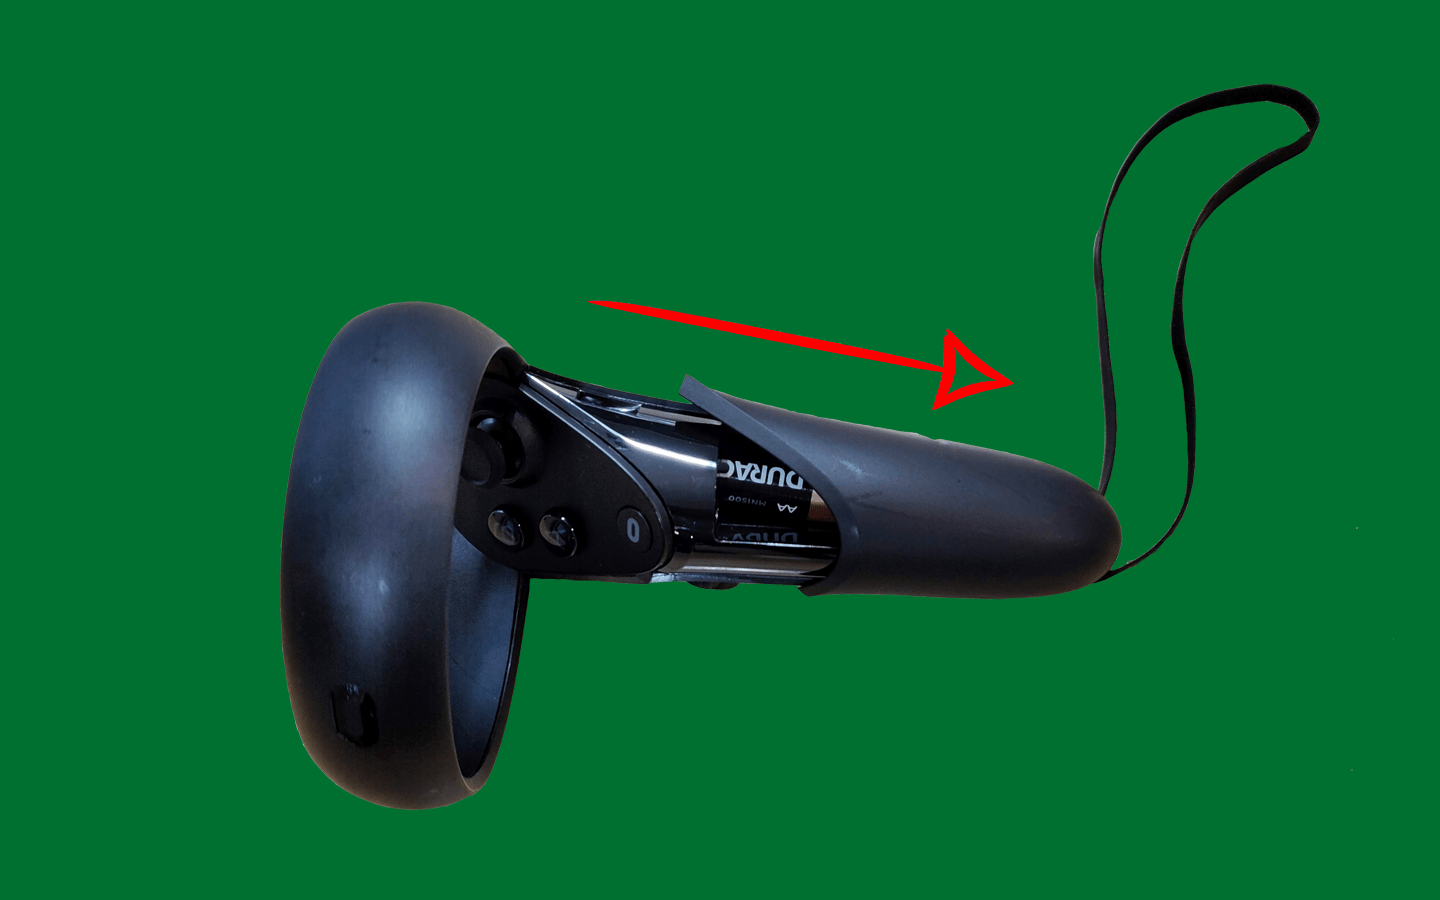
Picture of a motion controller with an arrow depicting the handle sliding down.

The handle of each controller can be gently slid open to reveal the battery. Use the pictures as reference.

Place your thumbs on the side of the handle and push away from the circular end of the controller. The shell is held on by magnets so you shouldn’t have to push hard before you feel it start to move.

Picture of a motion controller with the handle panel slide off to reveal the battery.

Once the handle is open, remove the old battery and insert a new one. Slide the handle case back onto the controller until it snaps shut.

With the new battery inserted the controller should be ready to work! Press the Oculus button (right hand controller) or the Menu button (left hand controller) to activate them. If it’s working properly and detected by the computer there will be a small white light that appears by the thumbstick.

If you have further problems with using the controllers please contact sojciml01@uoregon.edu.
How to set up the Oculus Rift S

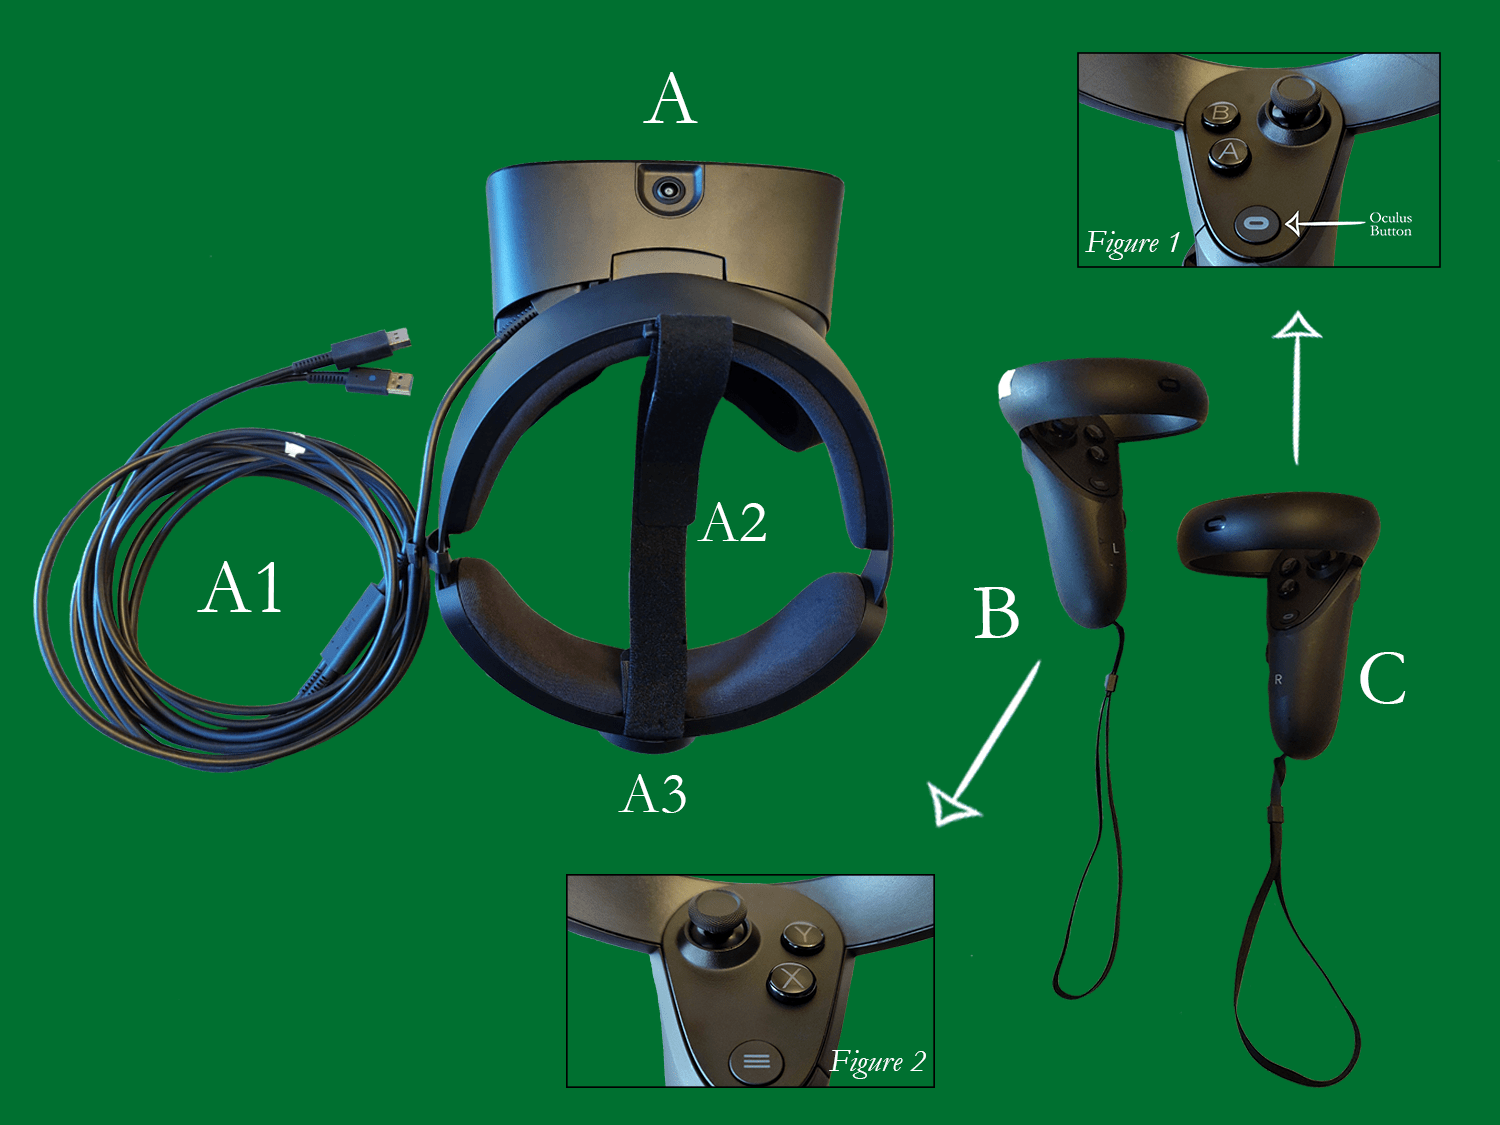
Picture showing an Oculus Rift S VR headset, controllers and buttons.

Step 1: You Must Be This Tall to Ride

If you’re looking for something with more power than the Quest then you’re ready to try the Rift S! Everything you need is in the Oculus Rift S kit available at the J-Cage in Allen Hall.

These headsets require a computer with a display port connection. Double check that your computer has one of these and if it doesn’t then we’ve got you covered, all the PC’s in the IML are Rift S ready!

Please keep the Rift S out of direct sunlight and only use the cleaning supplies that come with the kit.

Take frequent breaks while using the headset, VR can be disorienting for newcomers and cause eyestrain.

Image of the back of a PC tower with arrows pointing to a USB port and DisplayPort

Step 2: Power On

Remove the headset and cables from the case and place it somewhere sturdy and within reach of the PC tower.

The Rift S has two cables you need to plug into the back of the PC tower: a display port cable and a USB cable. If you’re using one of the IML PC’s refer to the picture above, the display port cable should be plugged in on the bottom row, the USB cable can be plugged in above that.

If you’re using your own PC please find the appropriate slots for each cable.

Step 3: Apps

There are two apps you will need to open on the PC to make sure the Rift S is ready to play: Oculus and Steam VR.

If you’re using an IML PC these apps are already installed and logged into the correct accounts. They should open automatically when the Rift S is connected to the PC.

If you’re using your own PC you may need to download and install these apps before you can use the Rift S.

Step 3: Suit Up

Then take each of the controllers and slip the strap (B and C above) around your wrist and tighten so they don’t slip off. Power on the controllers by pressing the Oculus Button and the menu button.

Now get ready to put on the headset. (Note: if the controllers are strapped to your wrists, it is okay to let them go to put on the headset).

Step 4: Fit

The headset should rest comfortably over your eyes and on the bridge of your nose and cheekbones without too much weight. 

To adjust the fit make sure the straps sit at the back of your head then tighten or loosen the knob (A3) on the back of the strap. You can also adjust the velcro strap (A2) across the top of your head.

A good fit will also help you get a clear image in the headset. If things look a bit blurry, try adjusting the fit.

Step 5: Play Area

If you’re using the Rift S with your own PC you will need to set up a new Guardian Boundary. If you’re using an IML PC these should already be set up though you may need to make adjustment.

When you put the headset on you should see a loading screen with the Oculus logo. Then you’ll be guided through setting up the Guardian Boundary, this will help keep you safe while you play.

Use your controller to show the Rift S the floor level by lowering your hand with the controller in it to the floor. Once confirmed then by holding down the trigger, draw your play area. Make sure this area is clear of any objects you might run into.

You also have the option of choosing a standing or stationary boundary. This will be smaller and is intended for any experience where the user will be remaining in one spot.

Step 6: Game On

Once set up is completed you will see a home view similar to the one shown above. From here you can choose your game or experience. Pressing the Oculus Button on the controller will always bring you back to this view.

If you’re new to VR I recommend trying out ‘First Steps’ to learn more about what you can do!