Meeting Scheduler Mac Outlook 2011/2016
Using the Meeting Scheduler in Outlook 2011 for Mac
**Functionality should be very similar in Outlook 2016
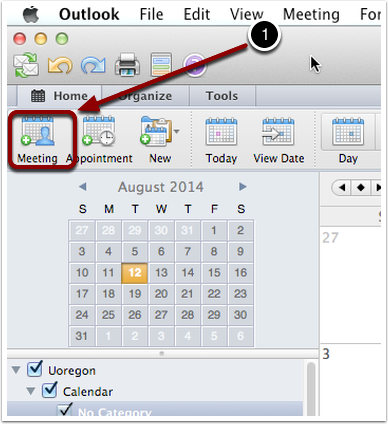
- Click on the “Meeting” button in the upper left hand corner.
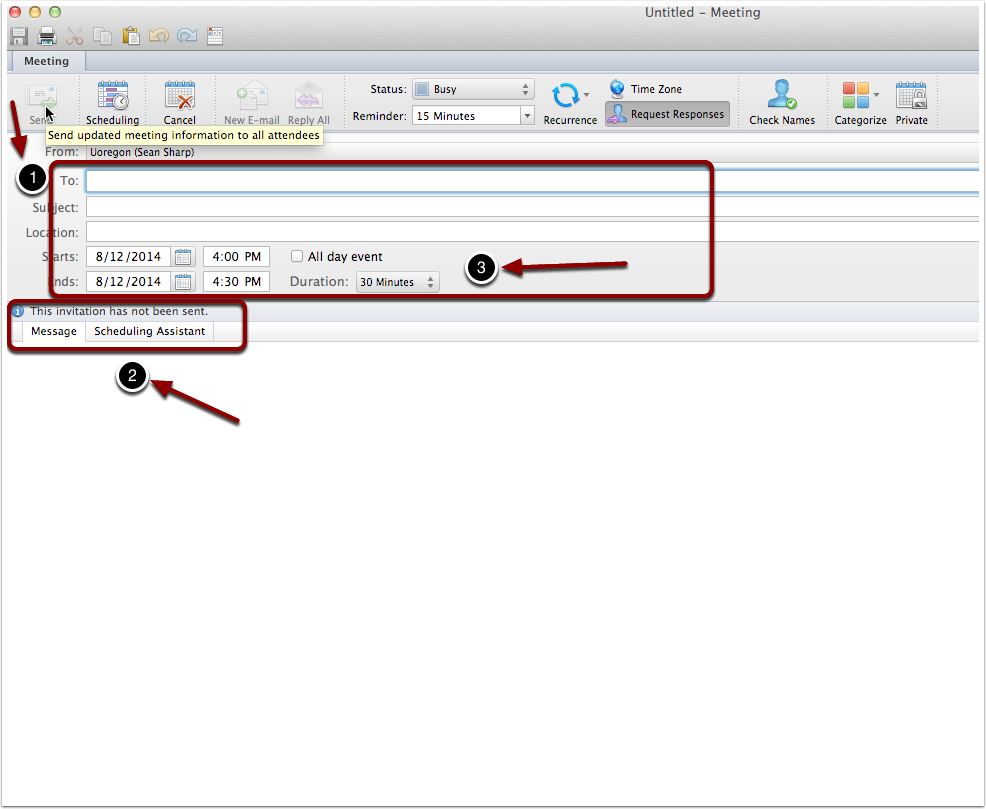
Next, you’ll see the following screen:
- You will email the invitation from this window.
- Note the tabs, “Message” and “Scheduling Assistant.”
- Also note the start/end/duration area
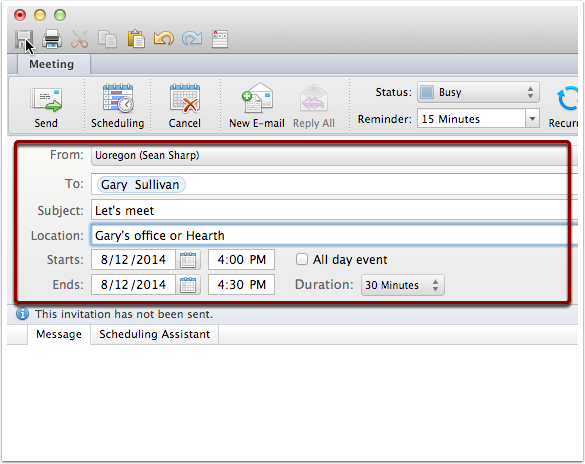
Fill in the required information:
- Add the person(s) you wish to invite.
- Add your subject
- Add a location
- Add a date and time
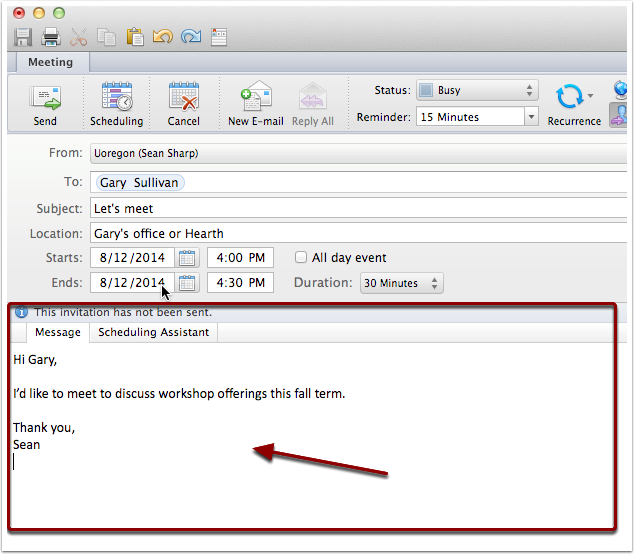
Compose your email message:
- Compose your email message in the “Message” tab area
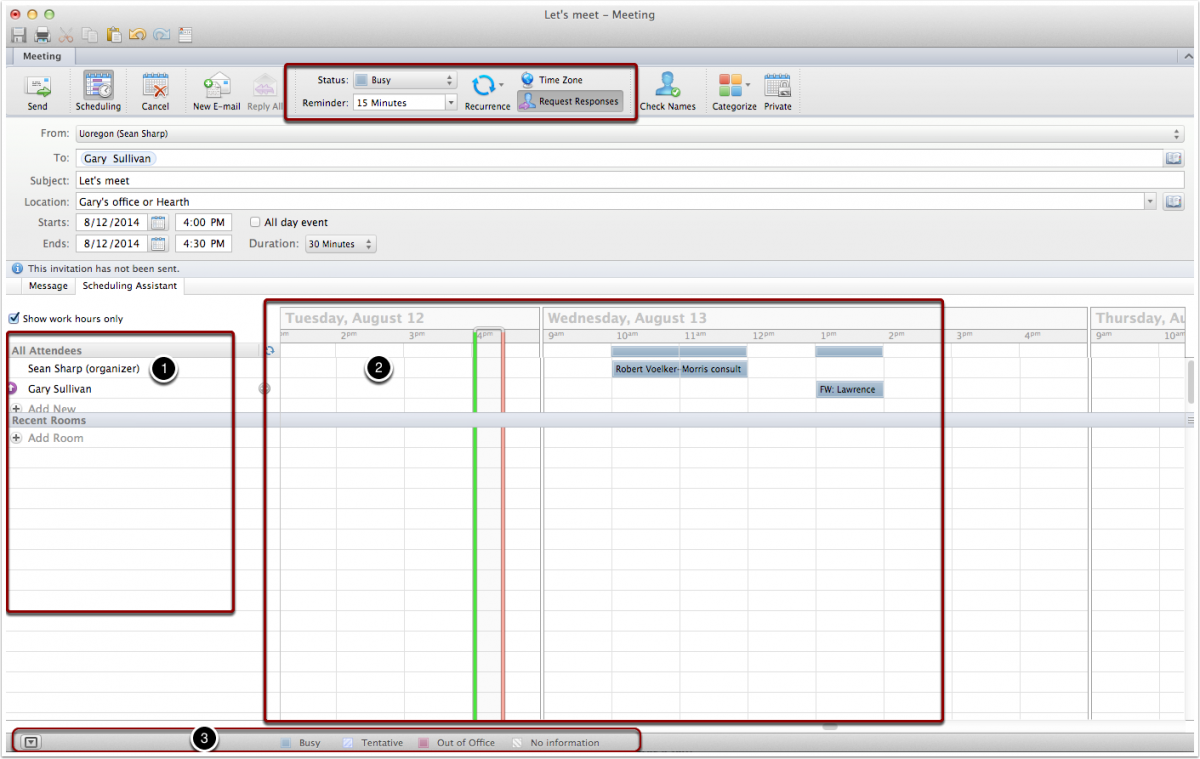
Use the Scheduling Assistant:
- Click on the “Scheduling Assistant”
- You’ll see the attendees listed in the left hand column
- In the columns to the right you’ll see the calendar and also when the requested attendees are available
- If the section is colored white, then they are available. If it is blue, they are busy.
- You can confirm that they are available in this manner and then click the “Send” button to send the meeting request
- Note: You can also set up a “Reminder”