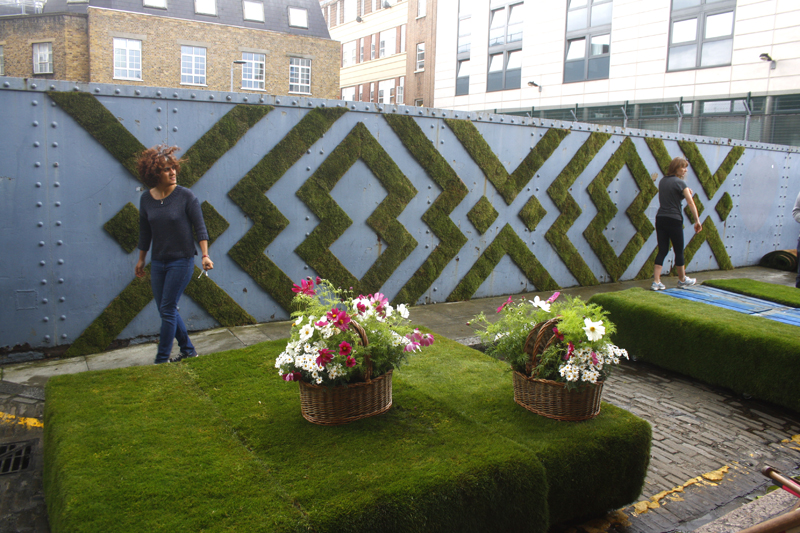
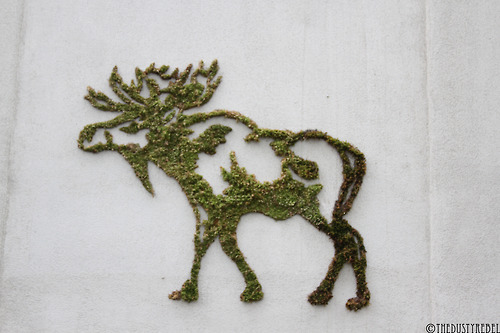
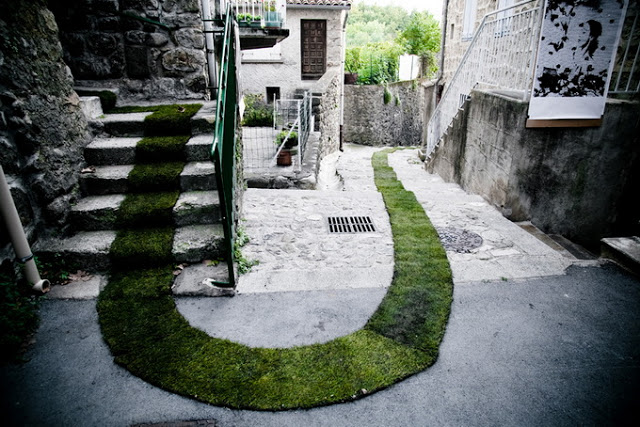
“Traditional Graffiti” may sound like an oxymoron, especially considering that its prevalence is a relatively new idea in the history of art. Only recently has it become even marginally accepted in urban spaces. Yet, the newest form of graffiti casts rogue tagging and spray cans as a thing of the past. The unfortunate truth of many artistic mediums, is their negative impact on the health of the planet. Spray paint in particular contains substances, including lead, cadmium, formaldehyde, CFCs, and other chemicals that are harmful to the health of our bodies, air, and greater environment (Stencil Revolution). Green graffiti is the environmentally friendly answer to street art. As moss artist Anna Garforth explains, “I enjoy the tactility of working with organic mediums and learning how to craft it into something else. no harmful toxins or bad fumes are involved. It takes me to interesting places both through the process and working on commissions around europe. above all it gets a really positive response and people love it!“ (Designboom). Easy to prepare, ecologically sensible, and exciting to watch grow over time, painting with moss will make you feel better about sneaking your stencils around town.
Get Started!
Complete instructions are listed below. For visual learners, check out this awesome video to see the preparation process:
Materials:
Moss
Blender
Sugar
Butter Milk
Water
Container
Paint Brush
Instructions
1. Decide on an image and location. For your first attempt, use a simple image. Also, choose a wall that does not get extended periods of direct sunlight. Alleyways are excellent places to paint moss graffiti, since the buildings usually block the sun for most of the day.
2. Transfer onto the wall in chalk. Use a stencil, draw freehand, or try an overhead projector to trace your image.
2. Collect a handful of moss. Once you start looking for it you’ll see it everywhere! Look on shady trees or boulders near a park or forest.
3. Wash as much of the dirt and plant matter off the underside of moss as possible.
4. Place the moss into the blender.
5. Add a table spoon or two of sugar and 1/2 cup of butter milk.
6. Blend to the consistency of a thick milkshake. Add some water if your mixture is too thick.
7. Pour mixture into a container with a lid.
8. Using a paint brush, paint on the moss mixture onto the wall in the shape of your image.
9. Keep the additional moss mixture in the fridge. We’ve been reapplying the moss mixture every second day and on the alternative day spritzing the area with water.
Check back: After a week you’ll already starting to see the moss establish itself on the wall. Expect about a month to pass until it’s fully established.
Get Inspired!
Check out the work of Hungarian artist Edina Mosstika, who engages the public directly with moss and grass stencils in subways and other high traffic areas. She is also the founder of Mosstika Urban Greenery, “a collective of eco-minded artists dedicated to green guerilla tactics and inspired public art.”


